Facebook Login with Cognito using AWS Amplify
In our guide so far we have used the Cognito User Pool to sign up users to our demo notes app. This means that our users have to sign up for an account with their email and password. But you might want your users to use their Facebook or Google account to sign up for your app. It also means that your users won’t have to remember another email and password combination for the sites they use. In this chapter we will look at how to add a “Login with Facebook” option to our demo app.
The version of the notes app used in this chapter is hosted in :
- A separate GitHub repository: https://github.com/AnomalyInnovations/serverless-stack-demo-fb-login-client
- And can be accessed through: https://demo-fb-login.serverless-stack.com
The main ideas and code for this chapter have been contributed by our long time reader and contributor Peter Eman Paver Abastillas.
To get started let’s create a Facebook app that our users will use to login.
Creating a Facebook App
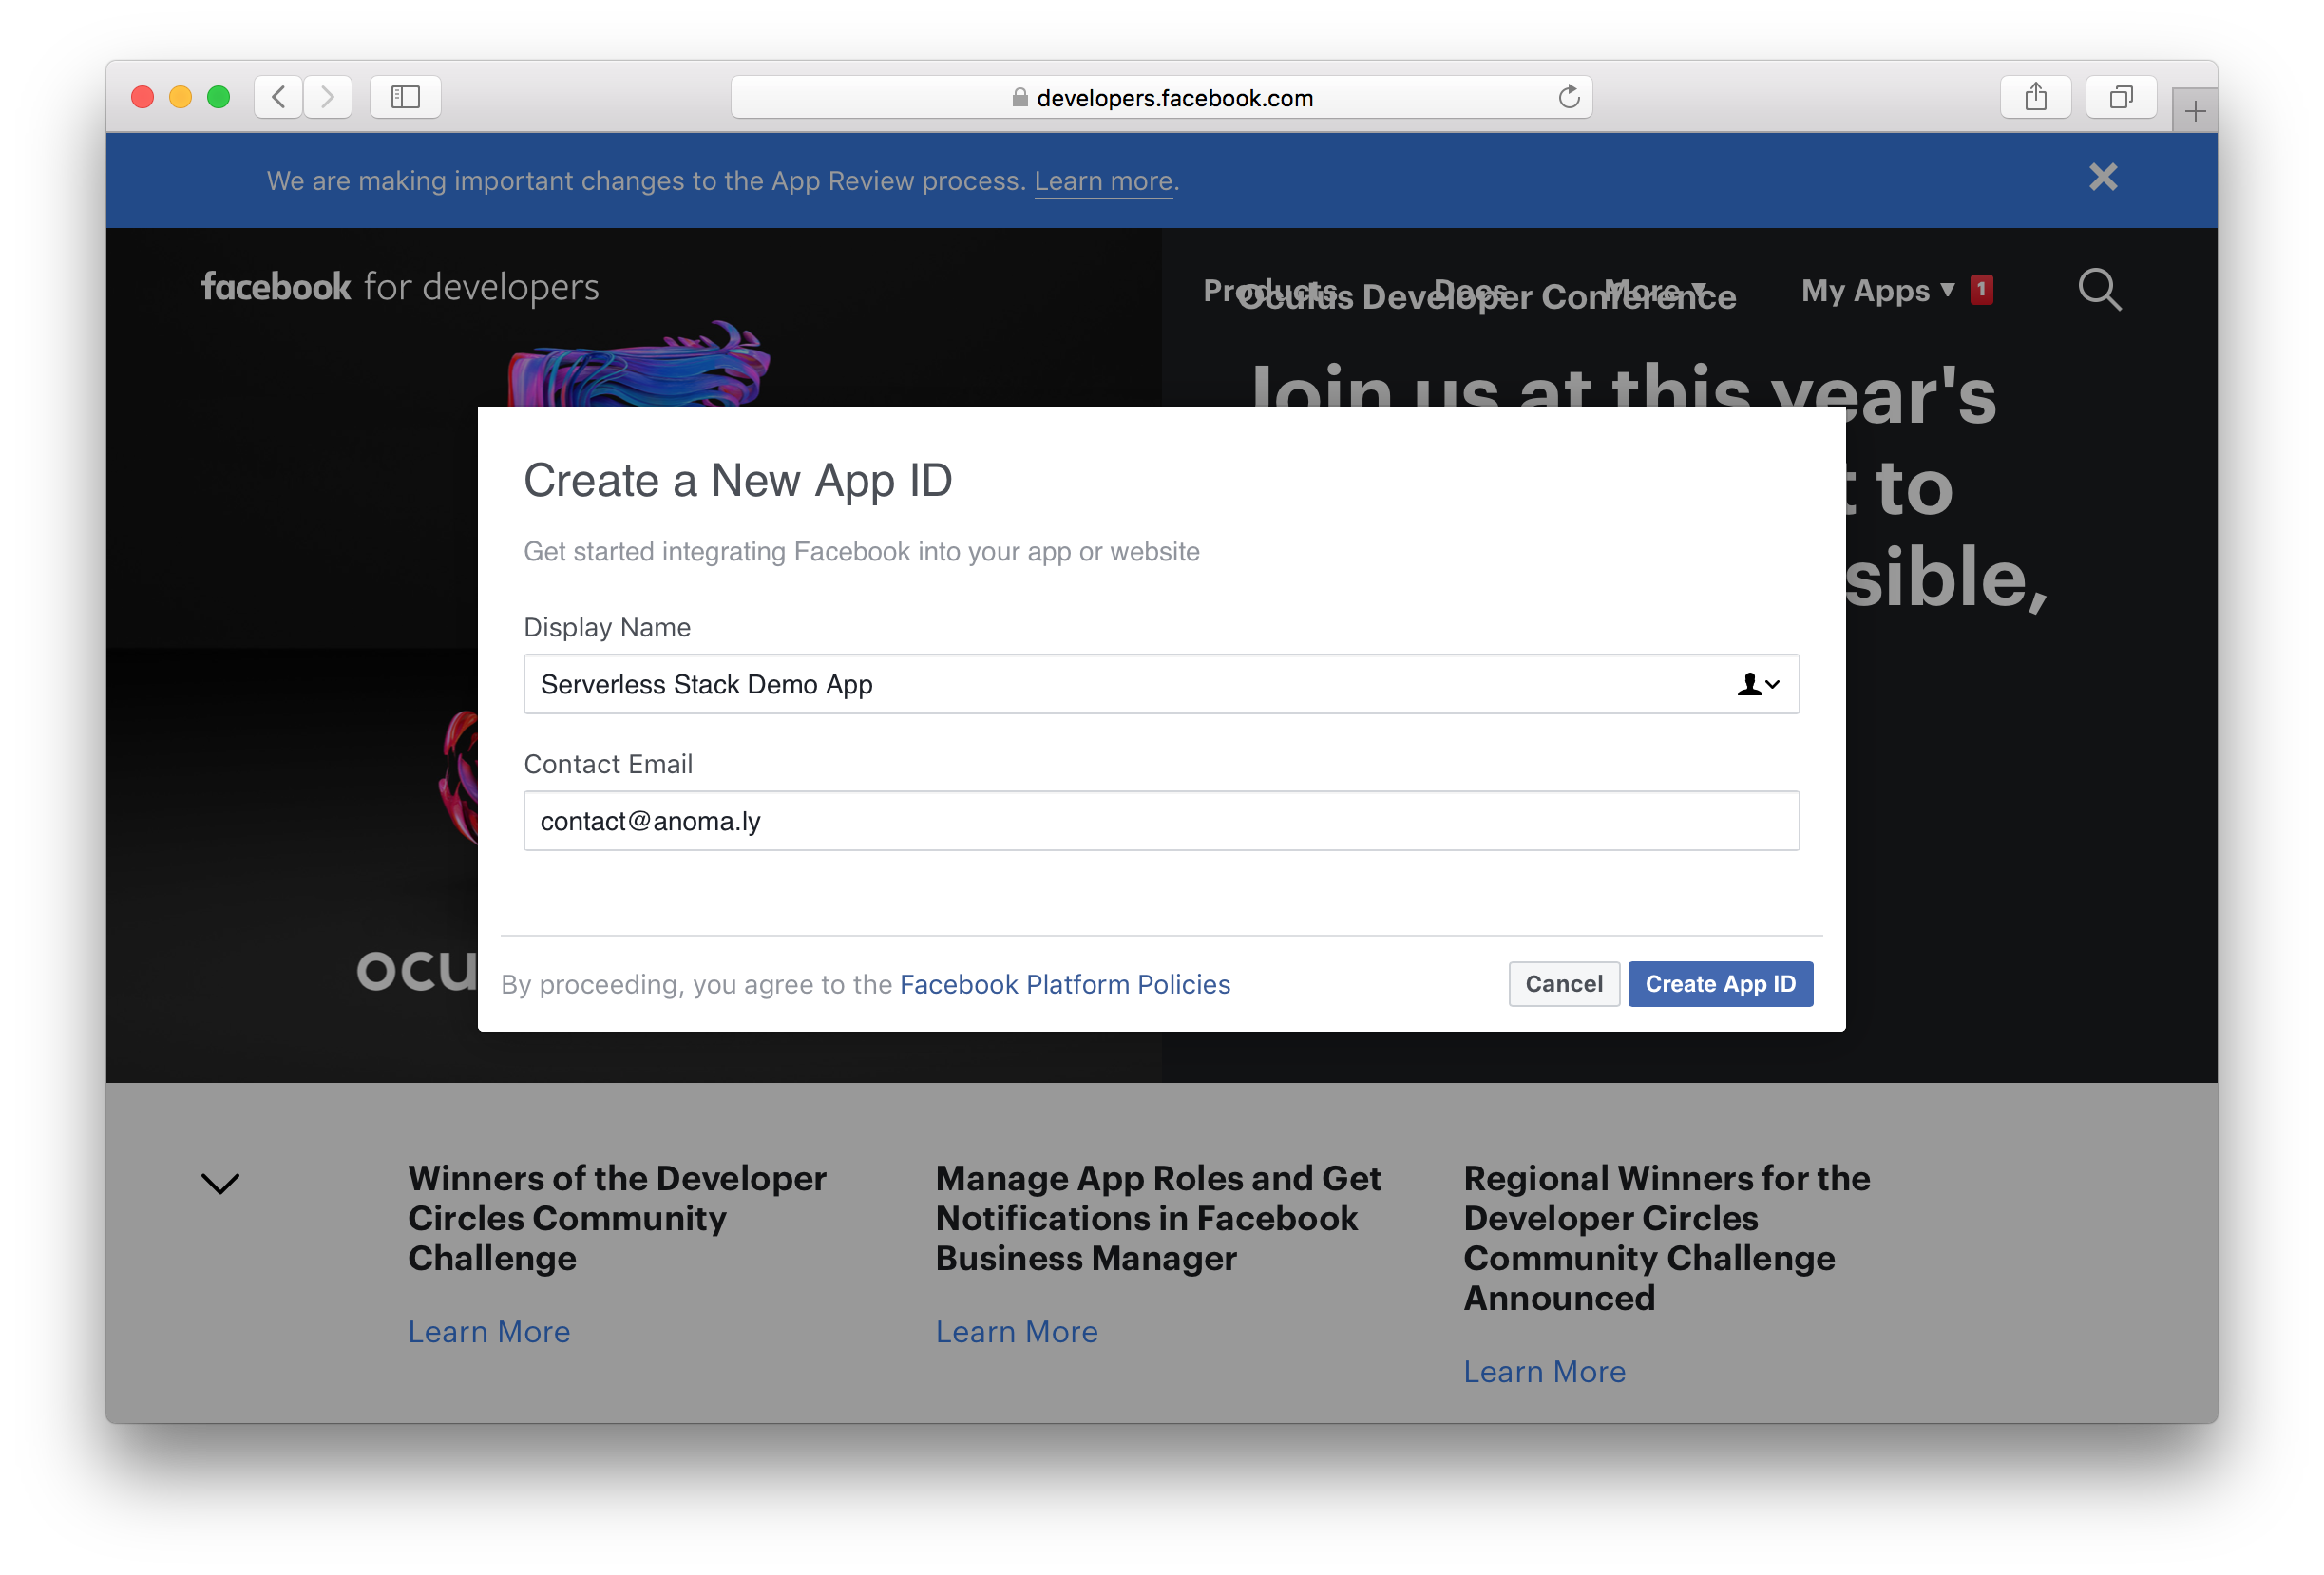
Head over to http://developers.facebook.com/ and create a new app by clicking My Apps > Add New App.
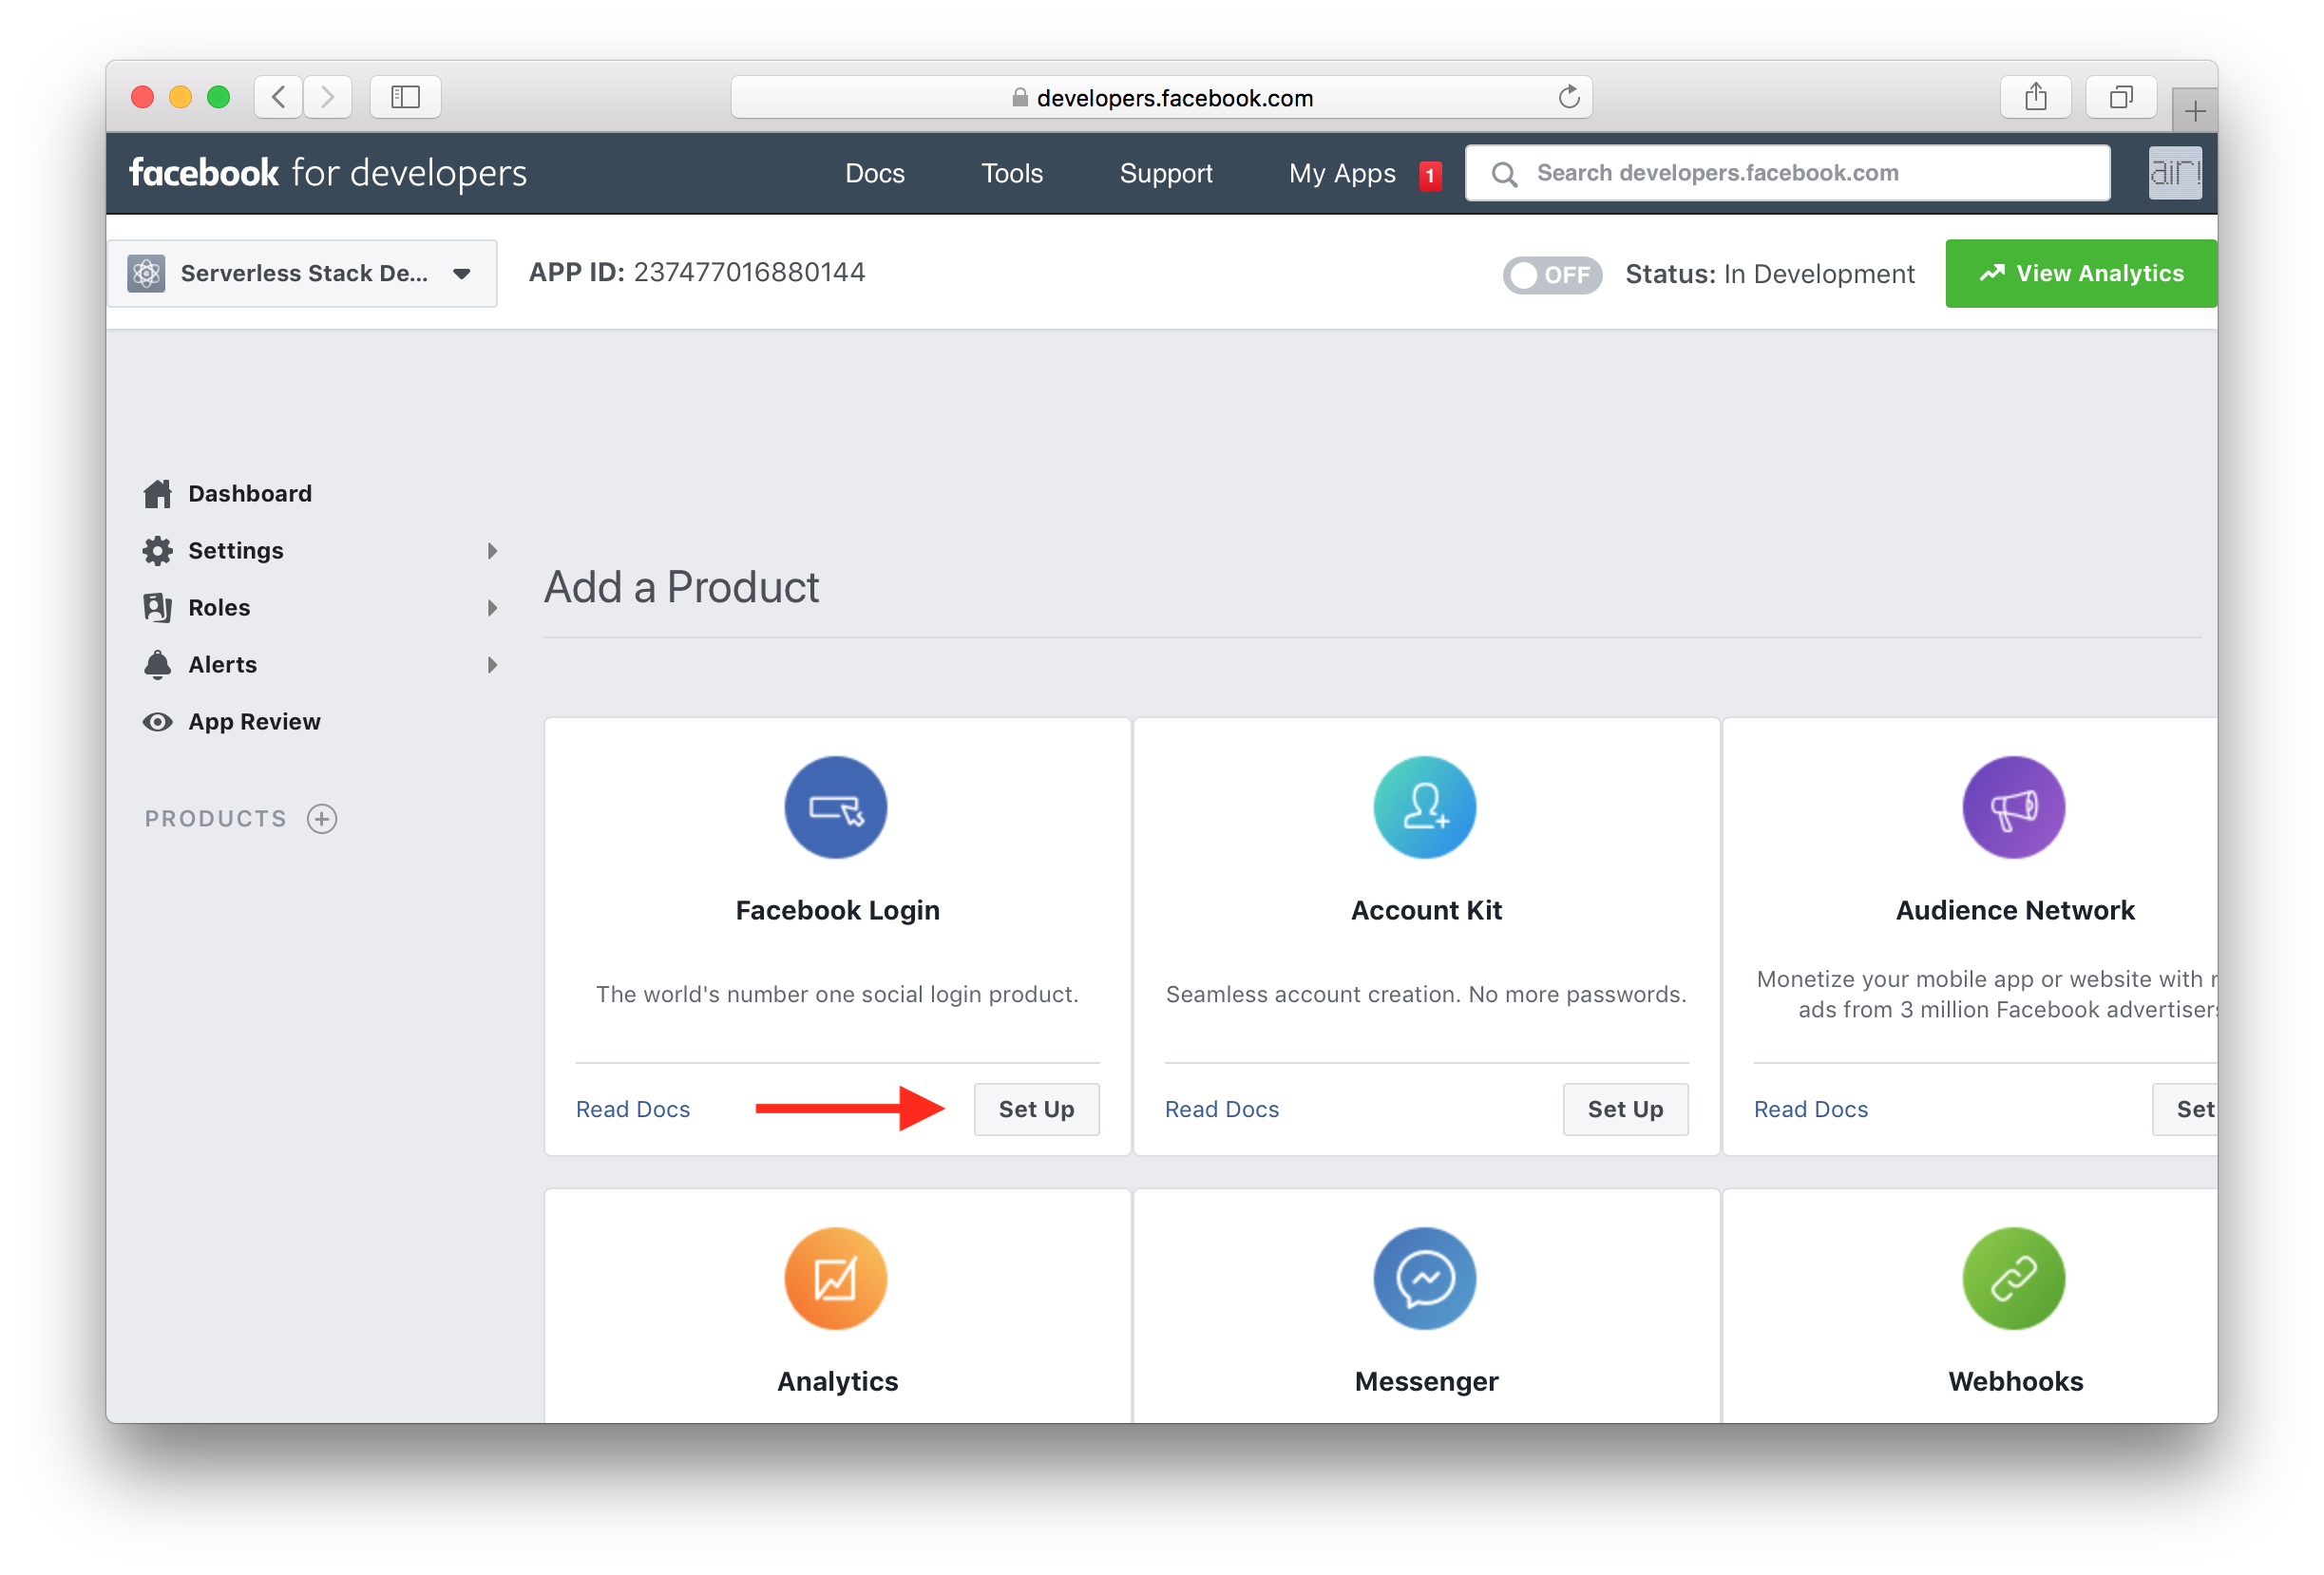
Under Facebook Login, select Set Up.
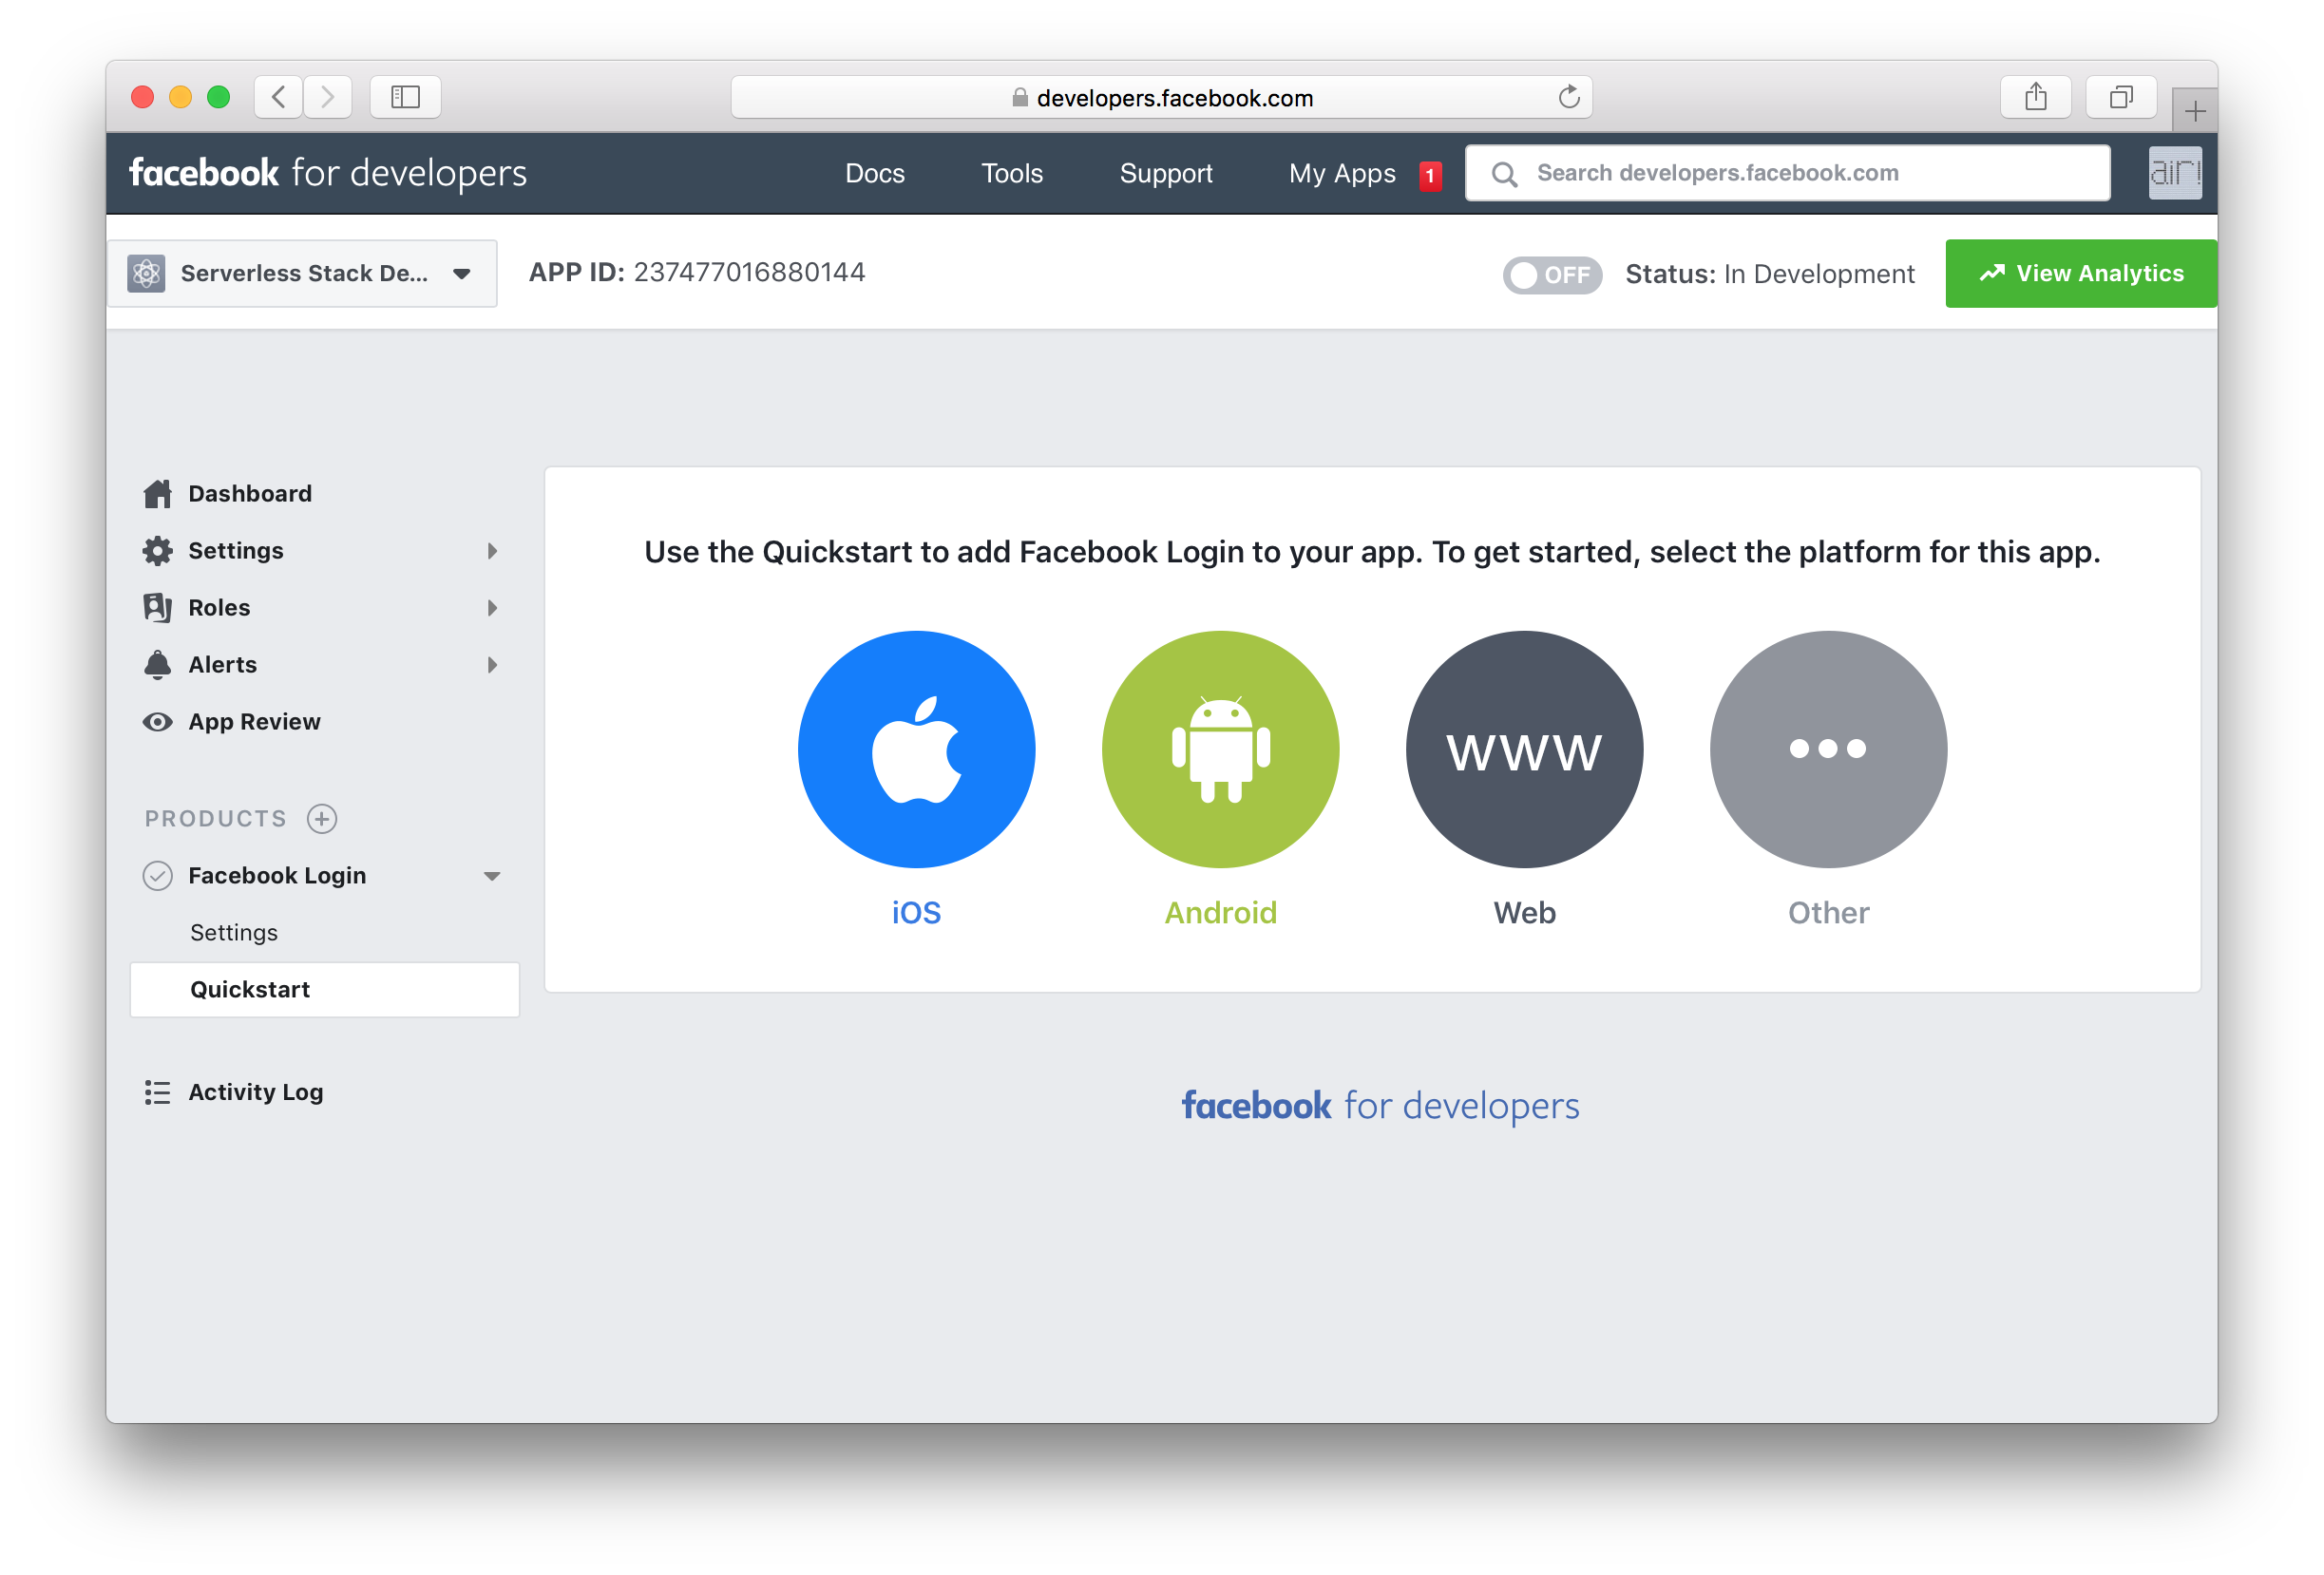
And select Web.
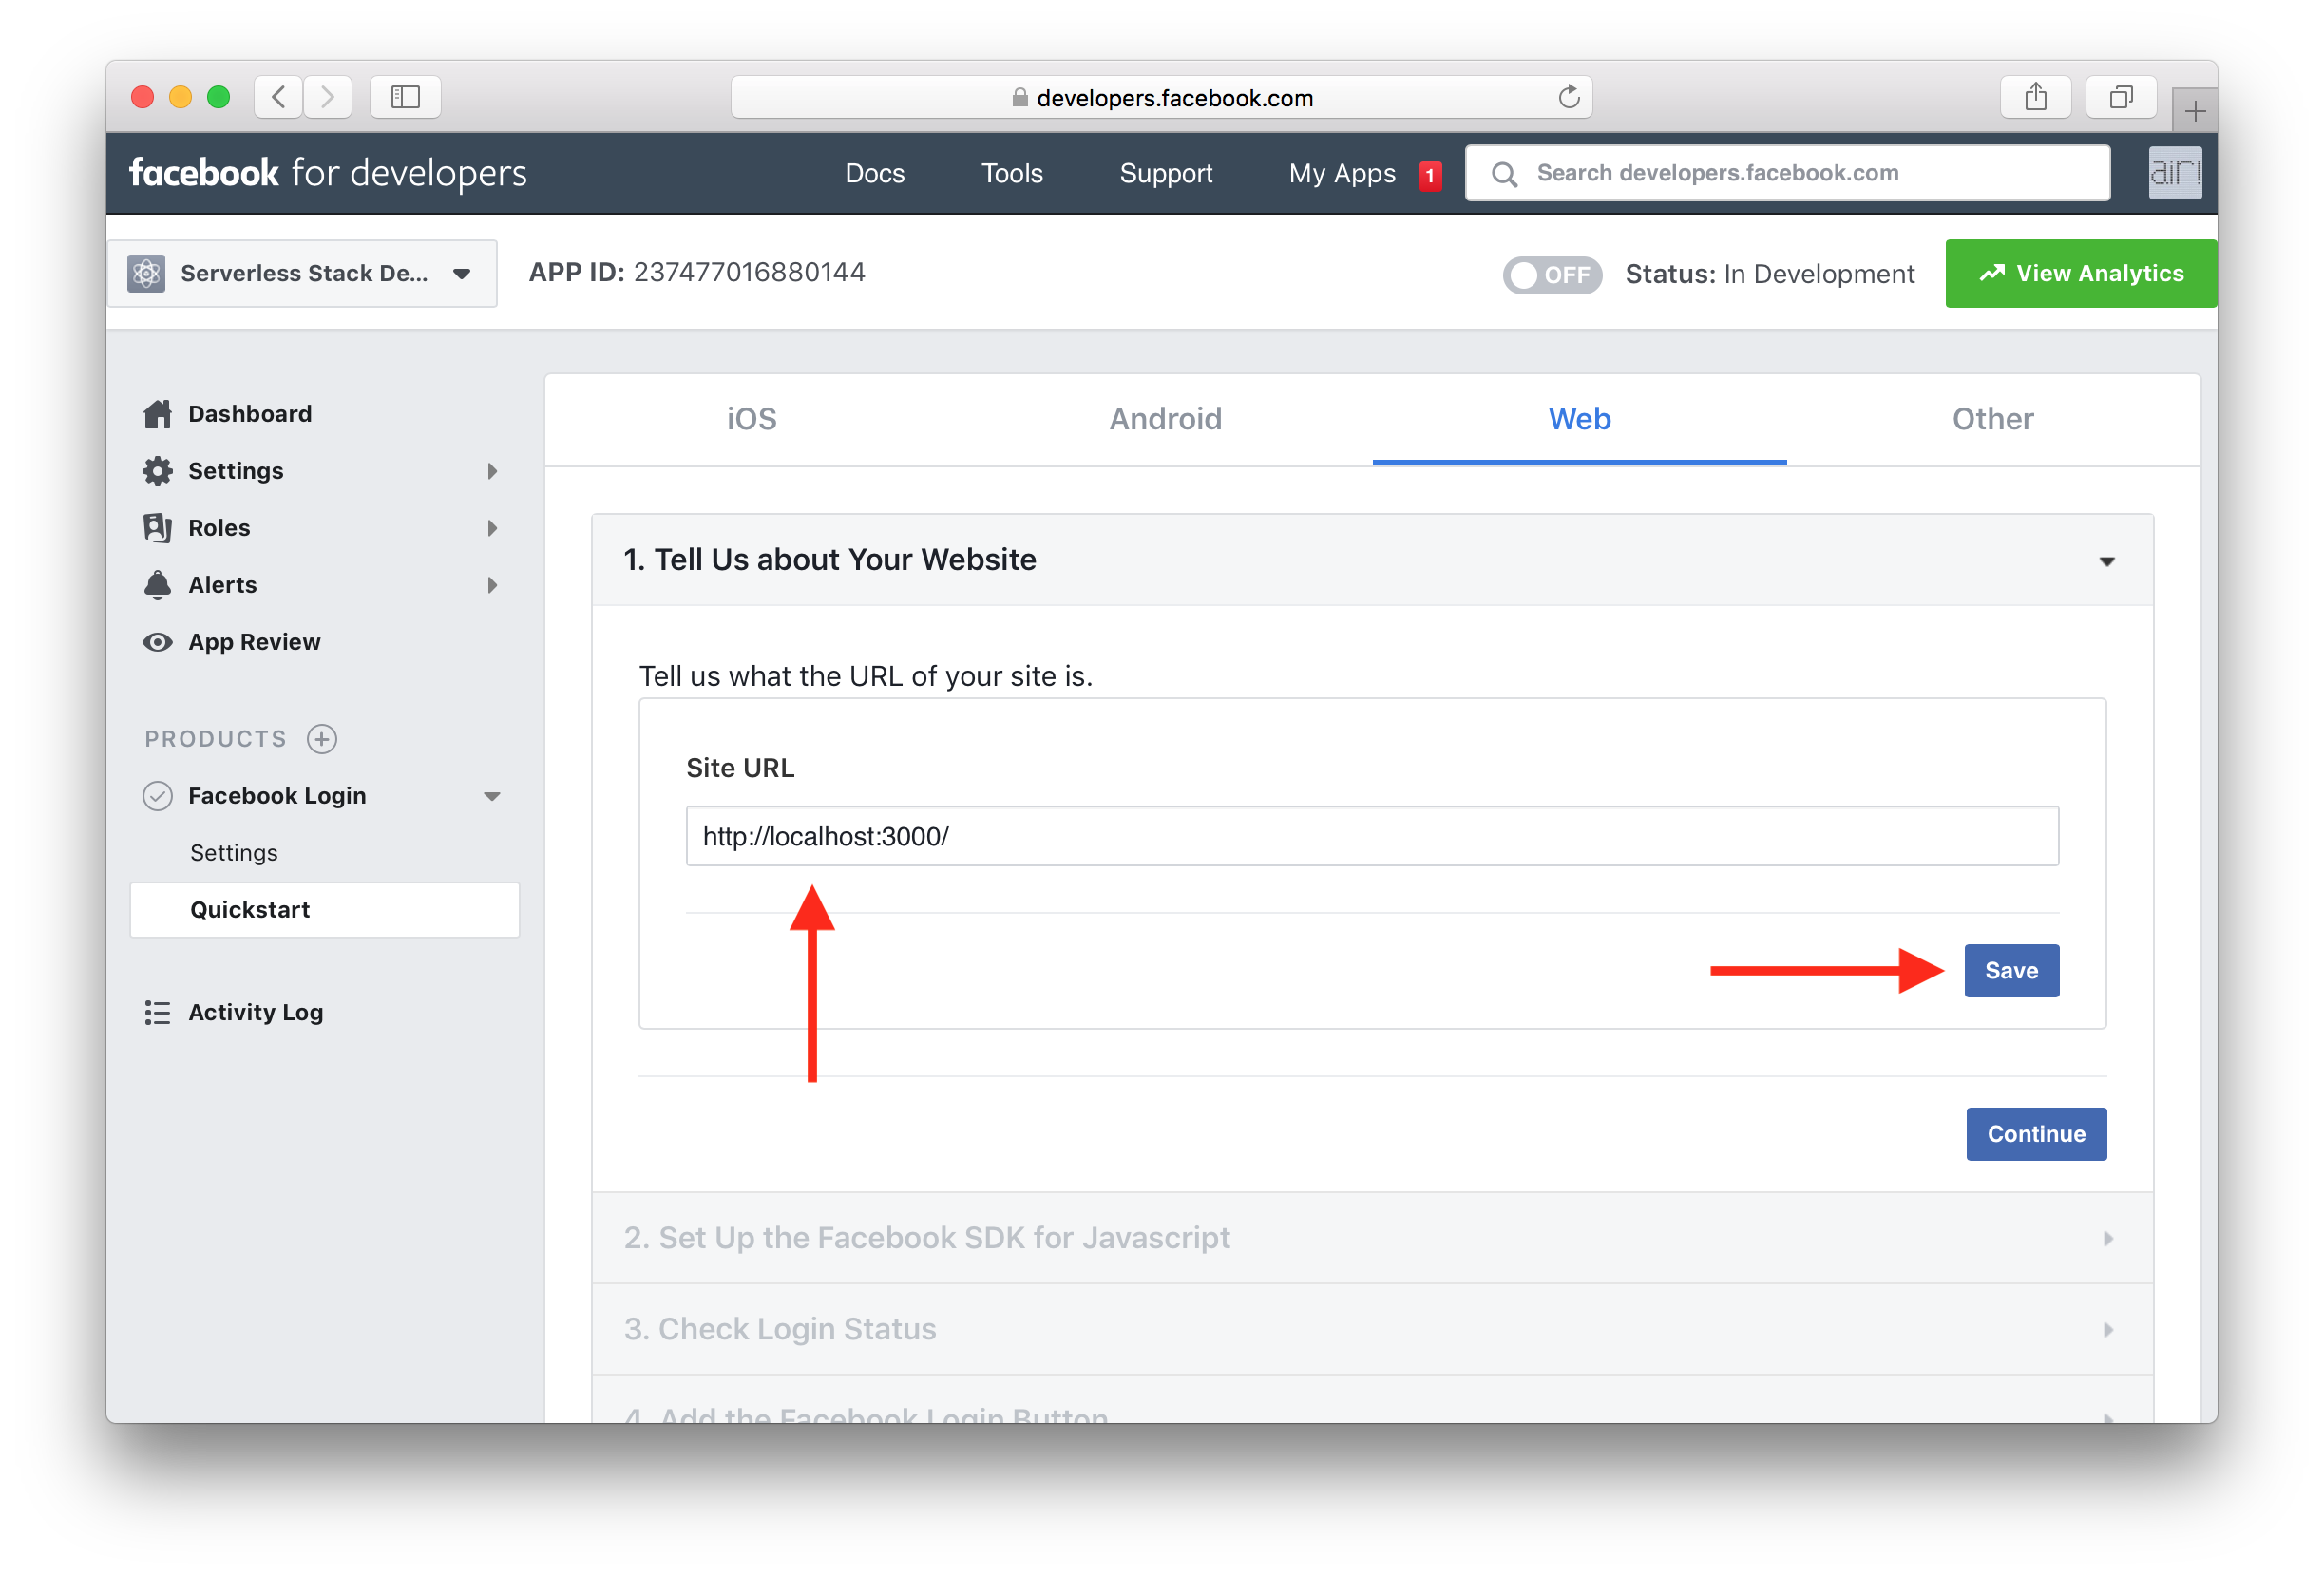
In the first step of the Quickstart, set the URL for your app to be http://localhost:3000. Or https://localhost:3000 if you use the HTTPS option in Create React App. Hit Save.
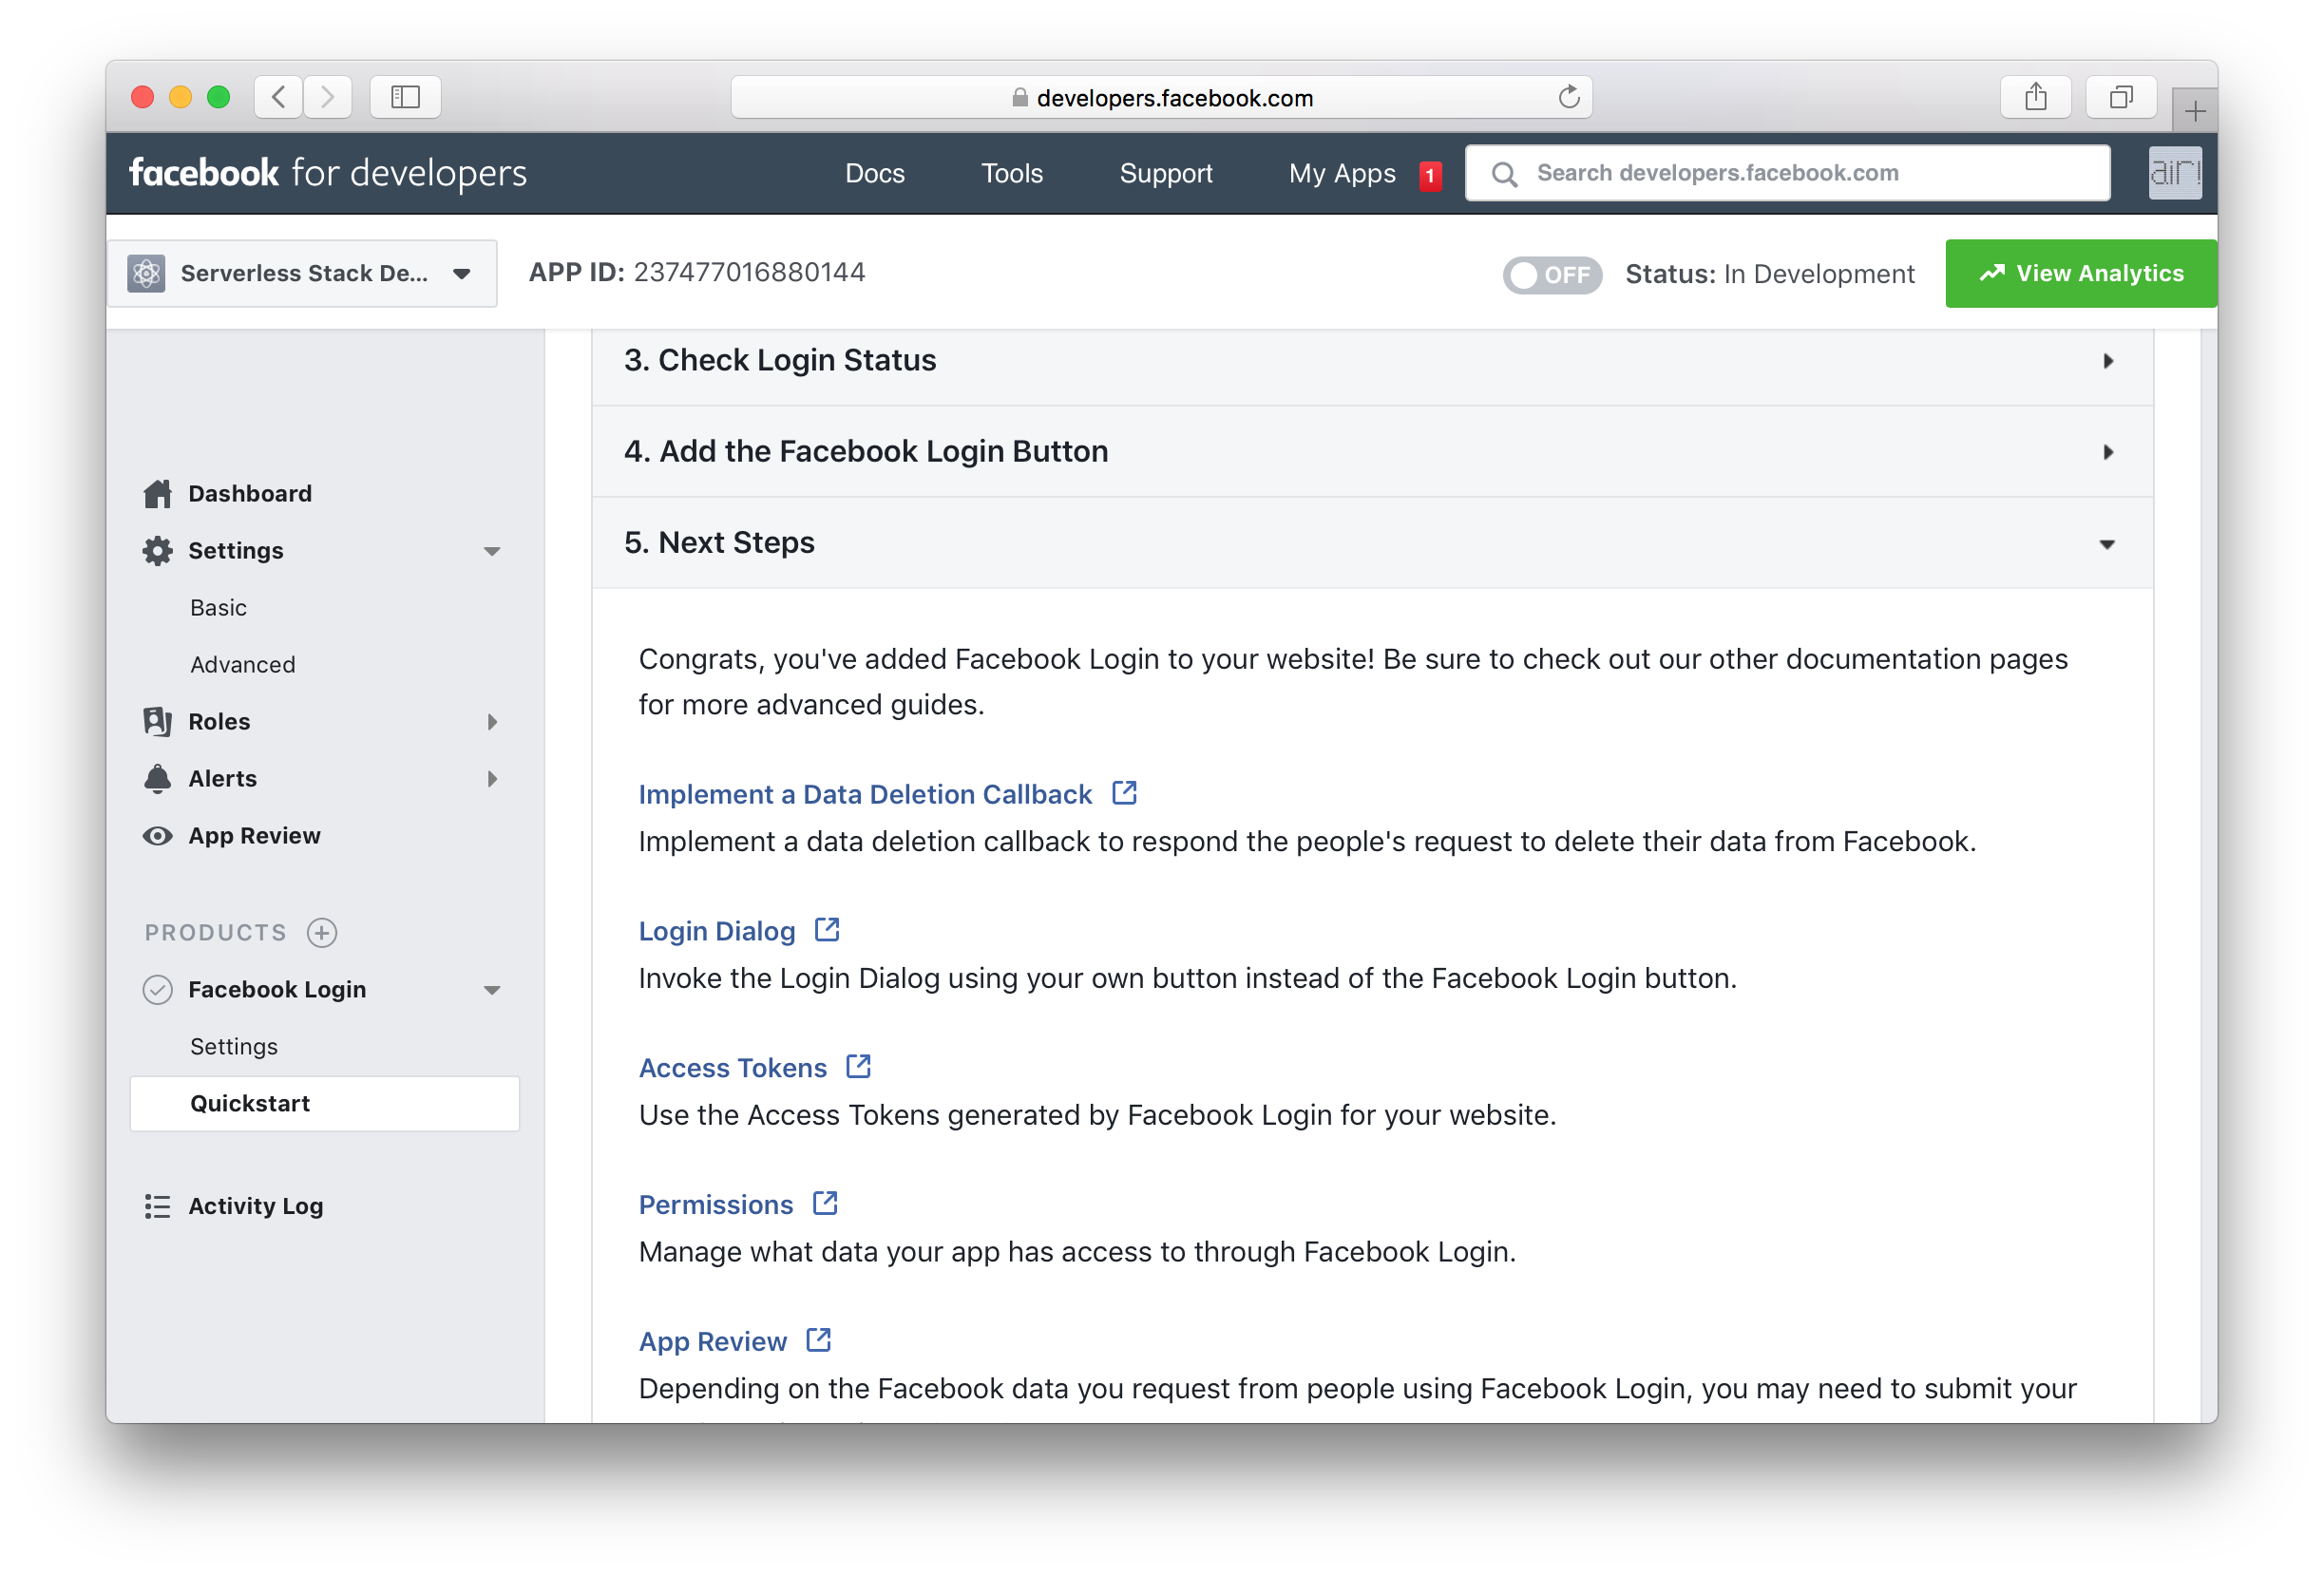
You can hit Continue to go through the rest of the Quickstart.
Finally, head over to Settings > Basic and make a note of your App ID.
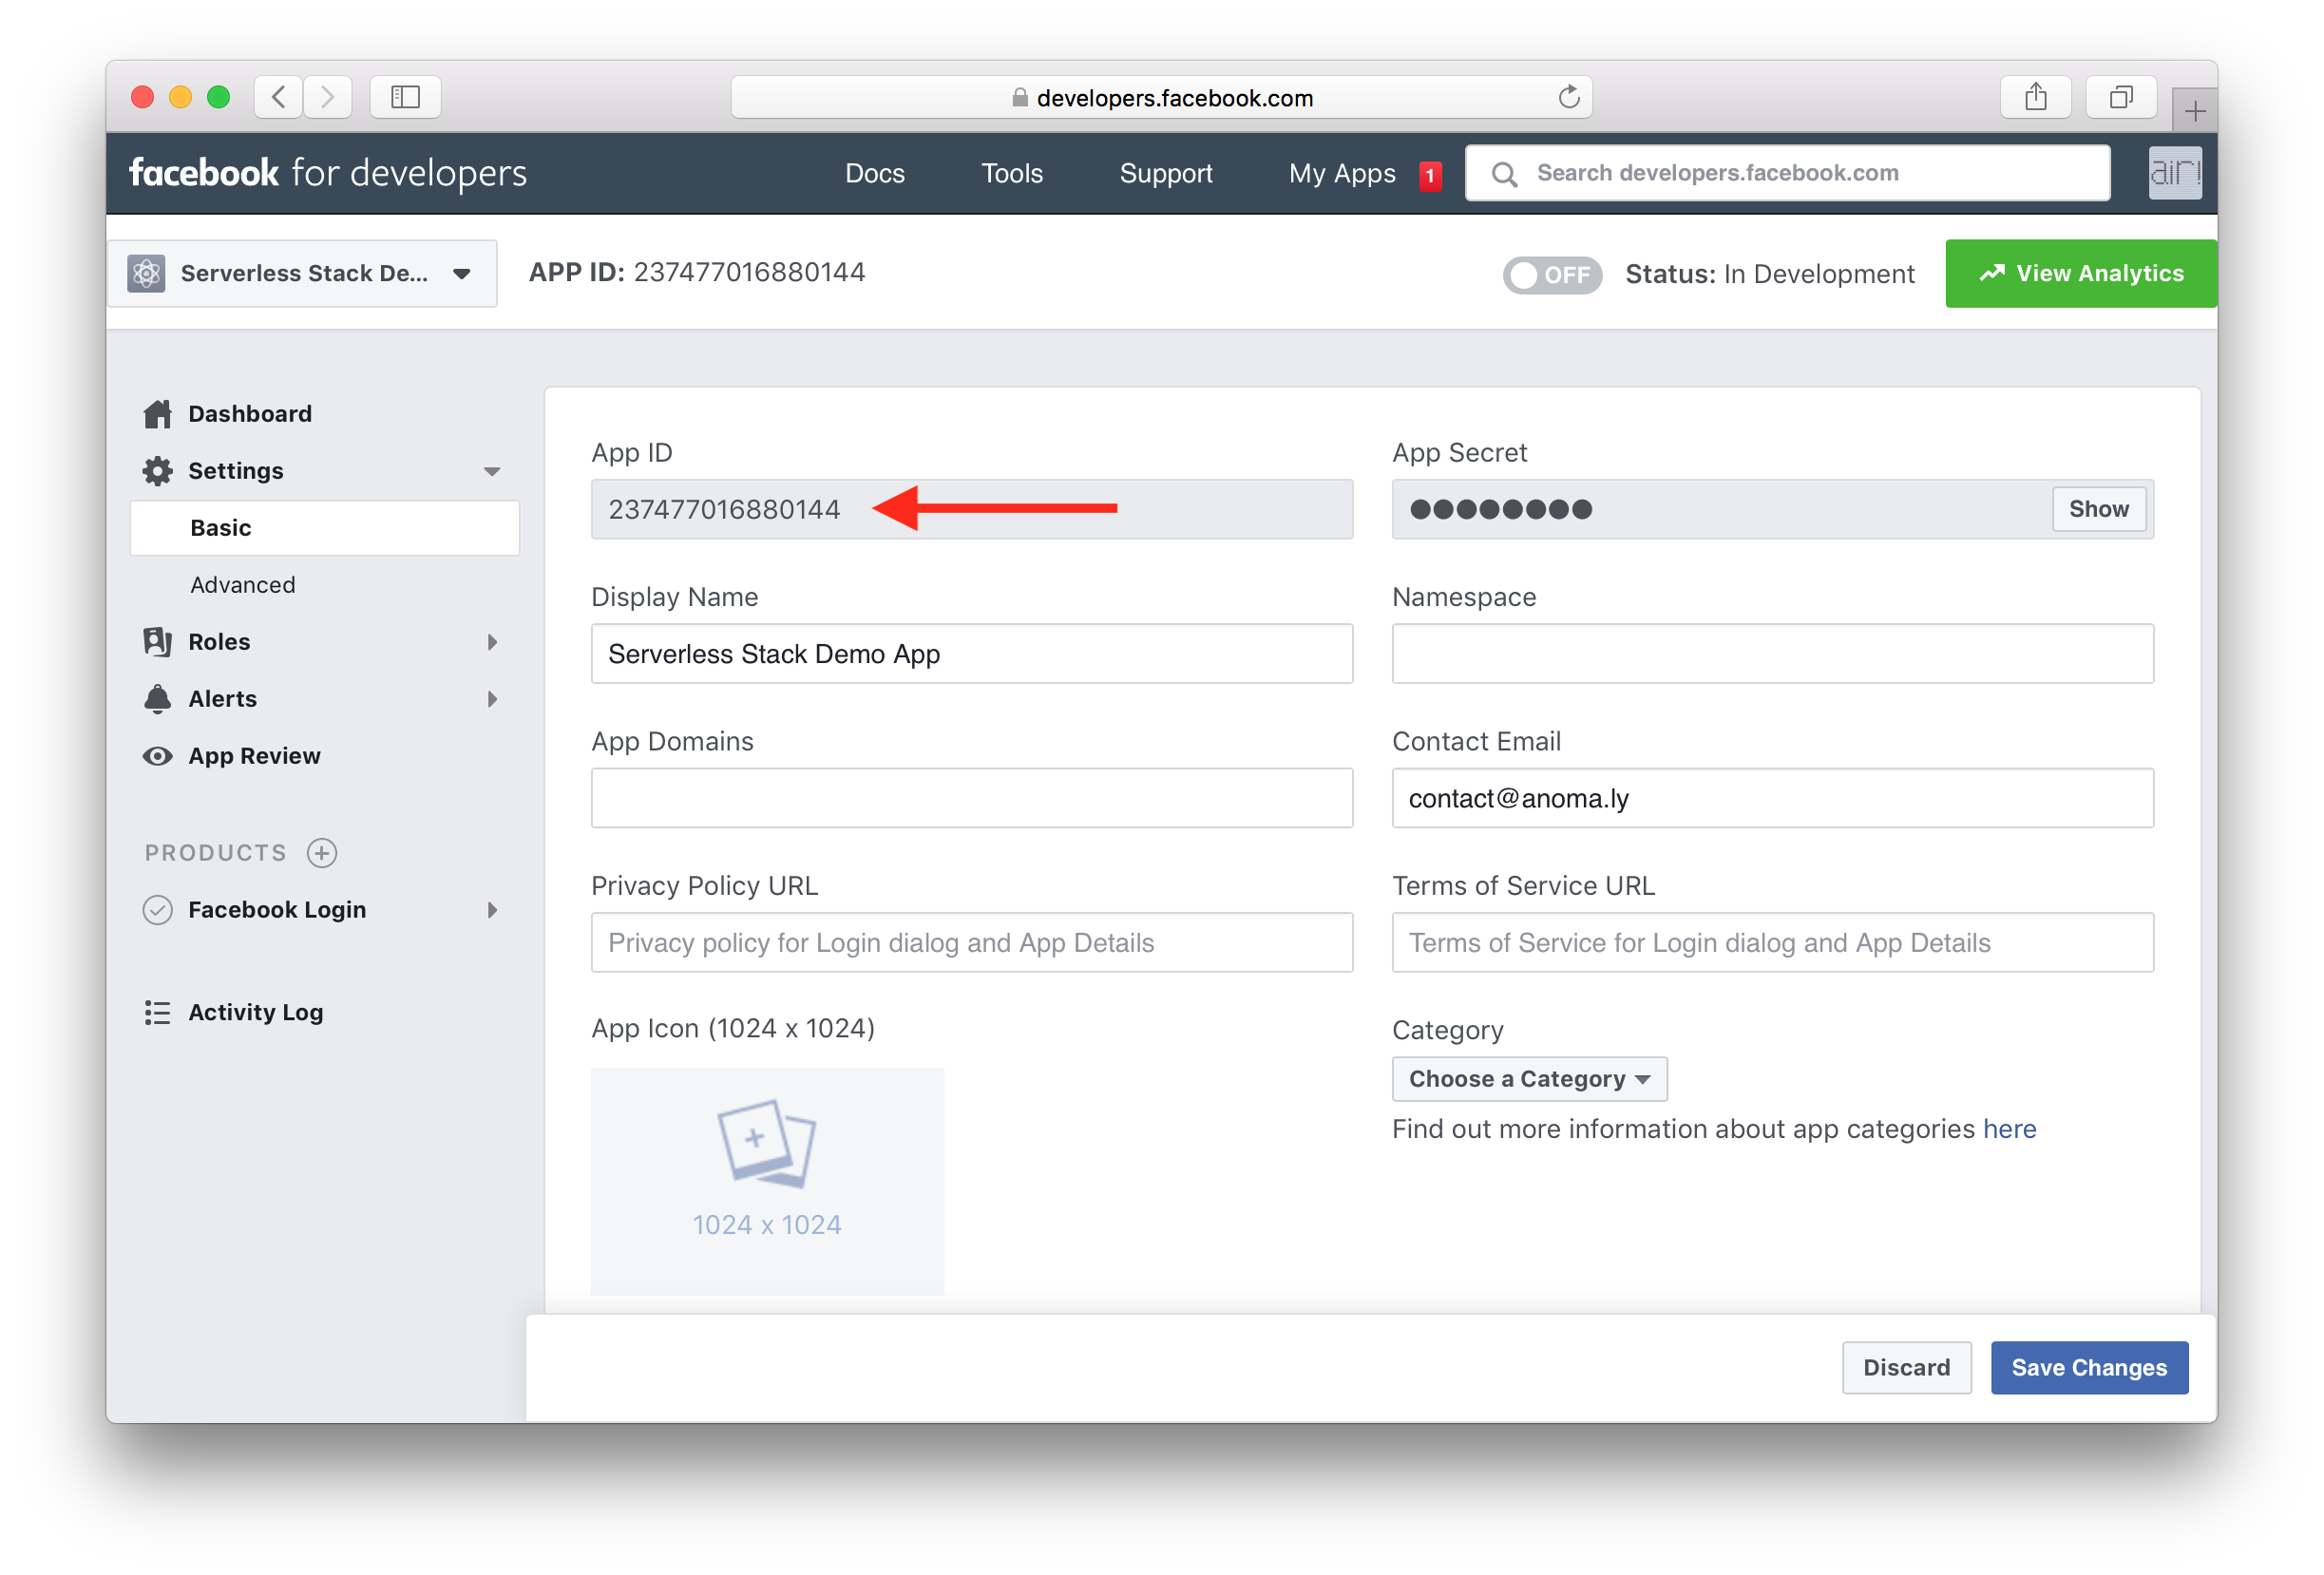
We are going to need this when we configure the AWS and React portion of our app.
Next we are going to use Cognito Identity Pool to federate our identities. This means that when a user signs up with their Facebook account, they will get added to our Identity Pool. And our Serverless Backend API will get an Id that we can use. This Id will remain the same if the user signs in later at any point. If you are a little confused about how the Identity Pool is different from the User Pool, you can take a quick look at our Cognito user pool vs identity pool chapter.
Add Facebook as an Authentication Provider
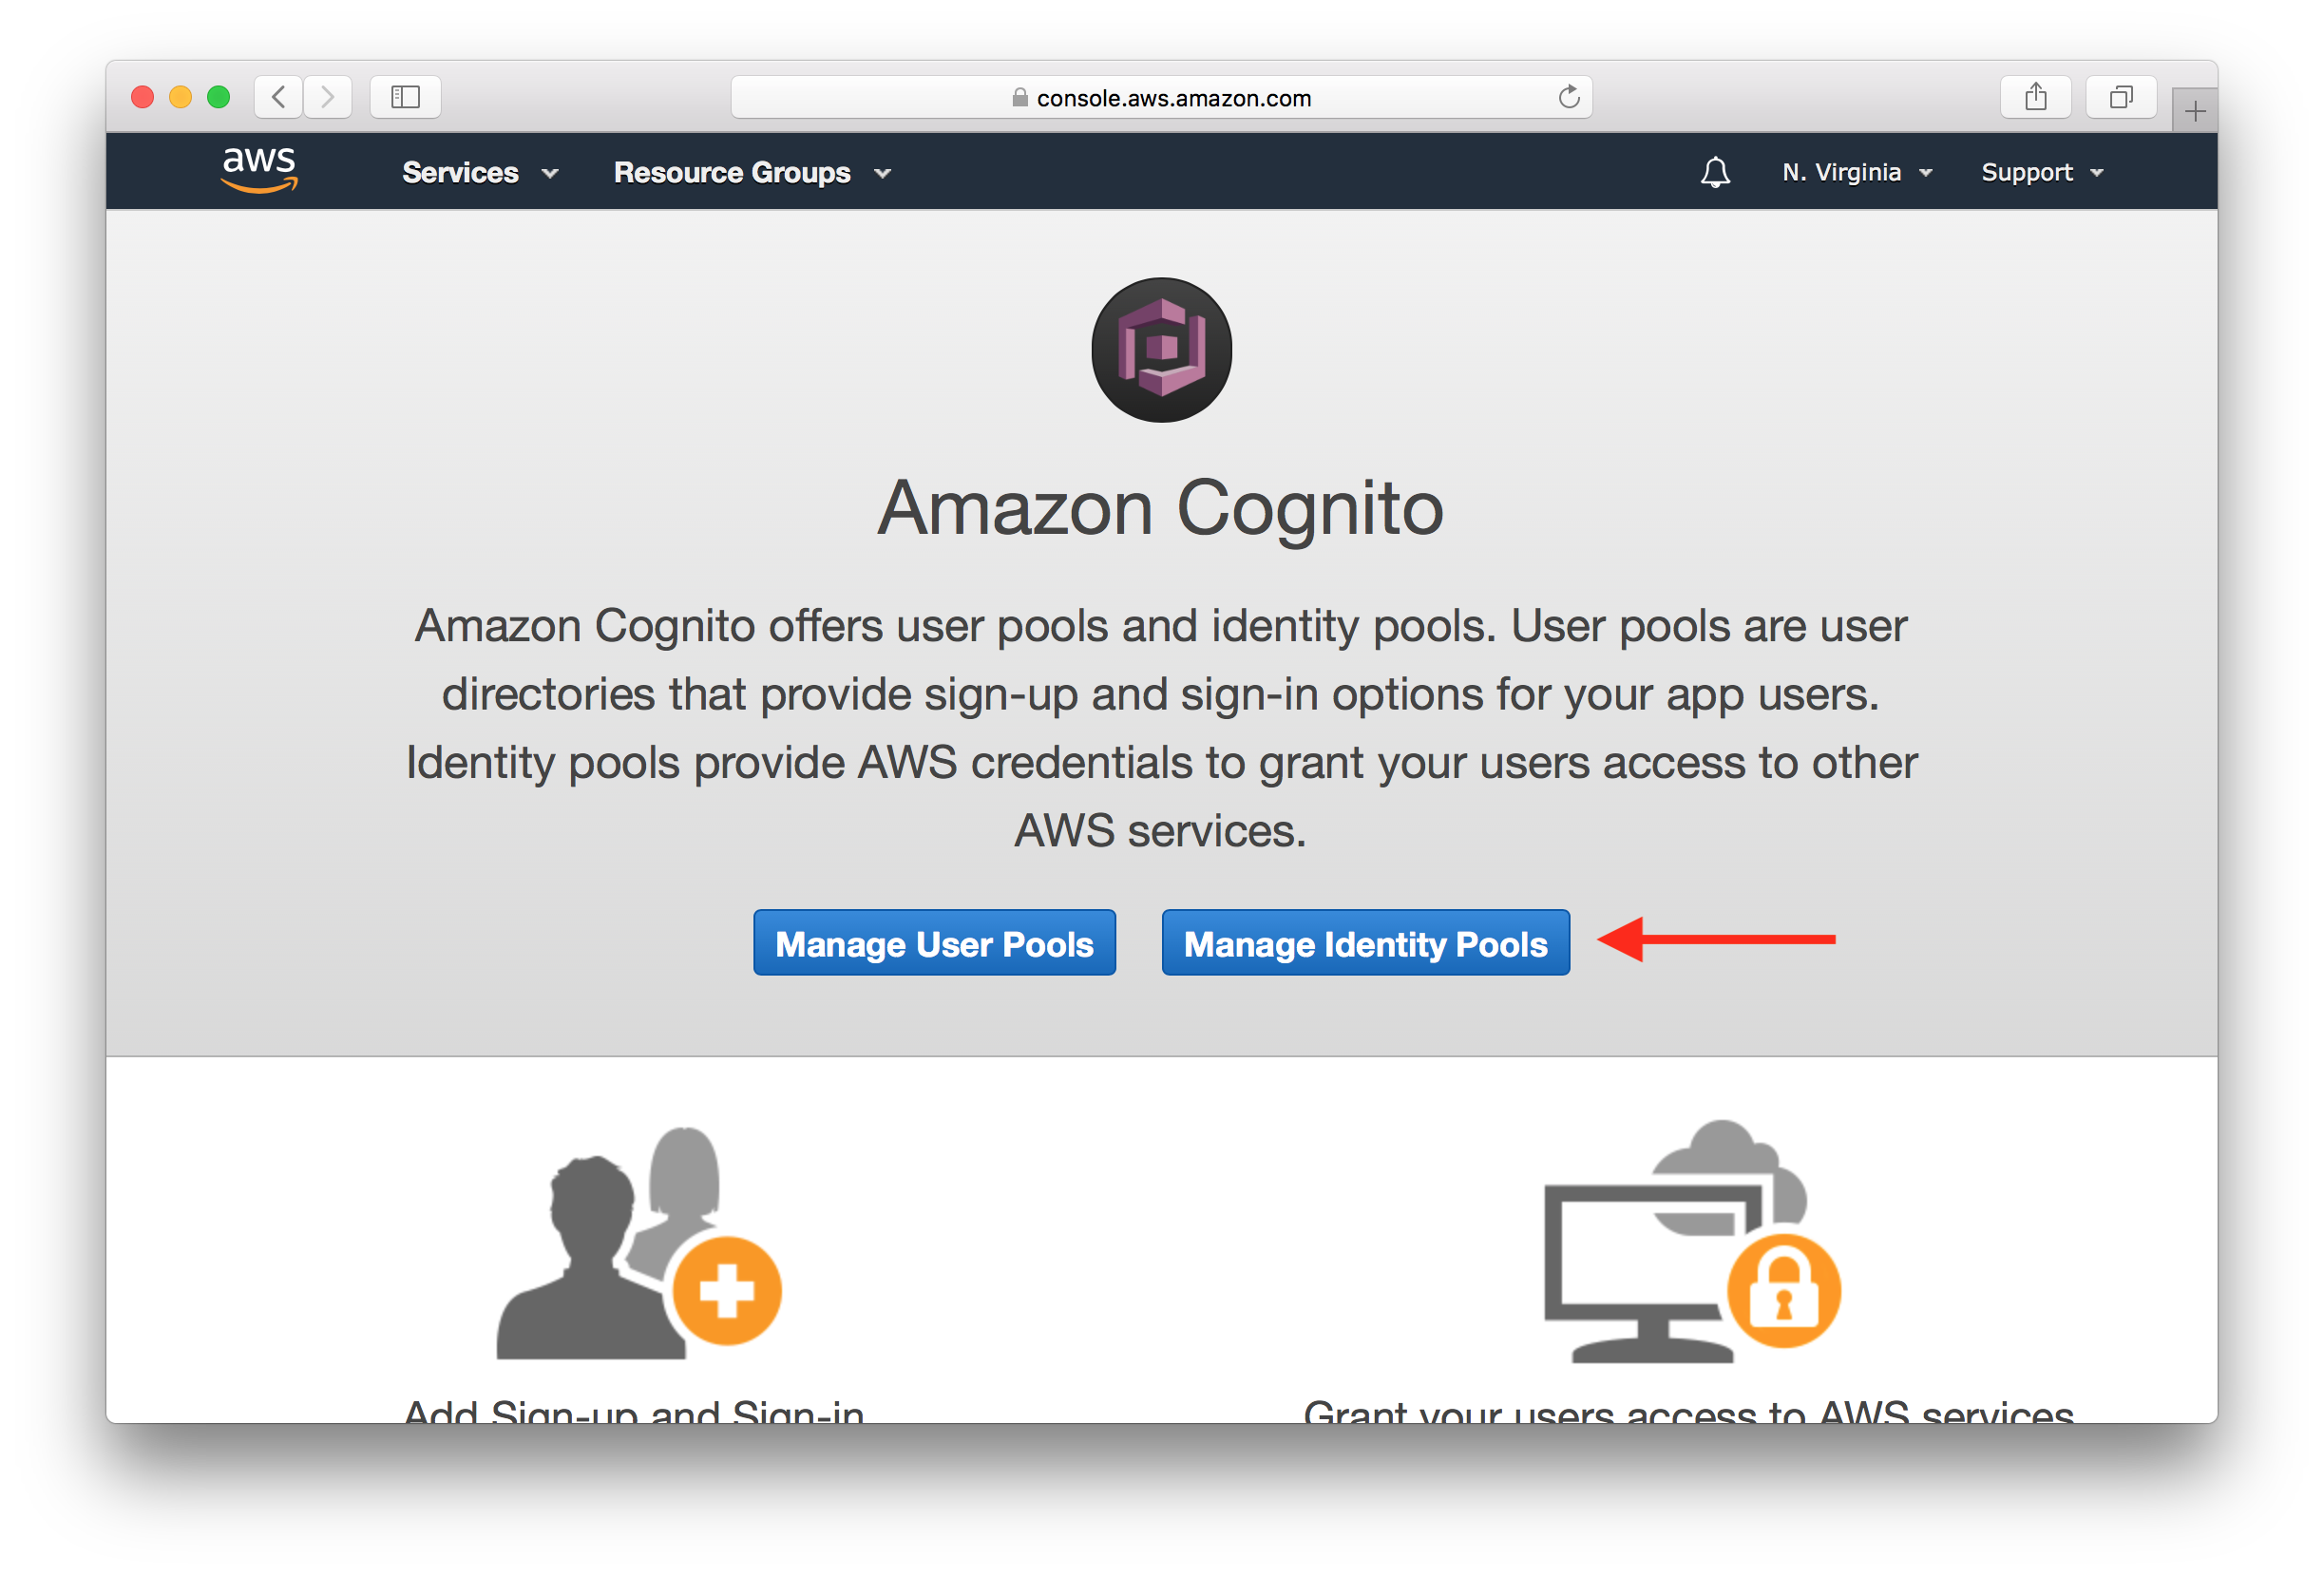
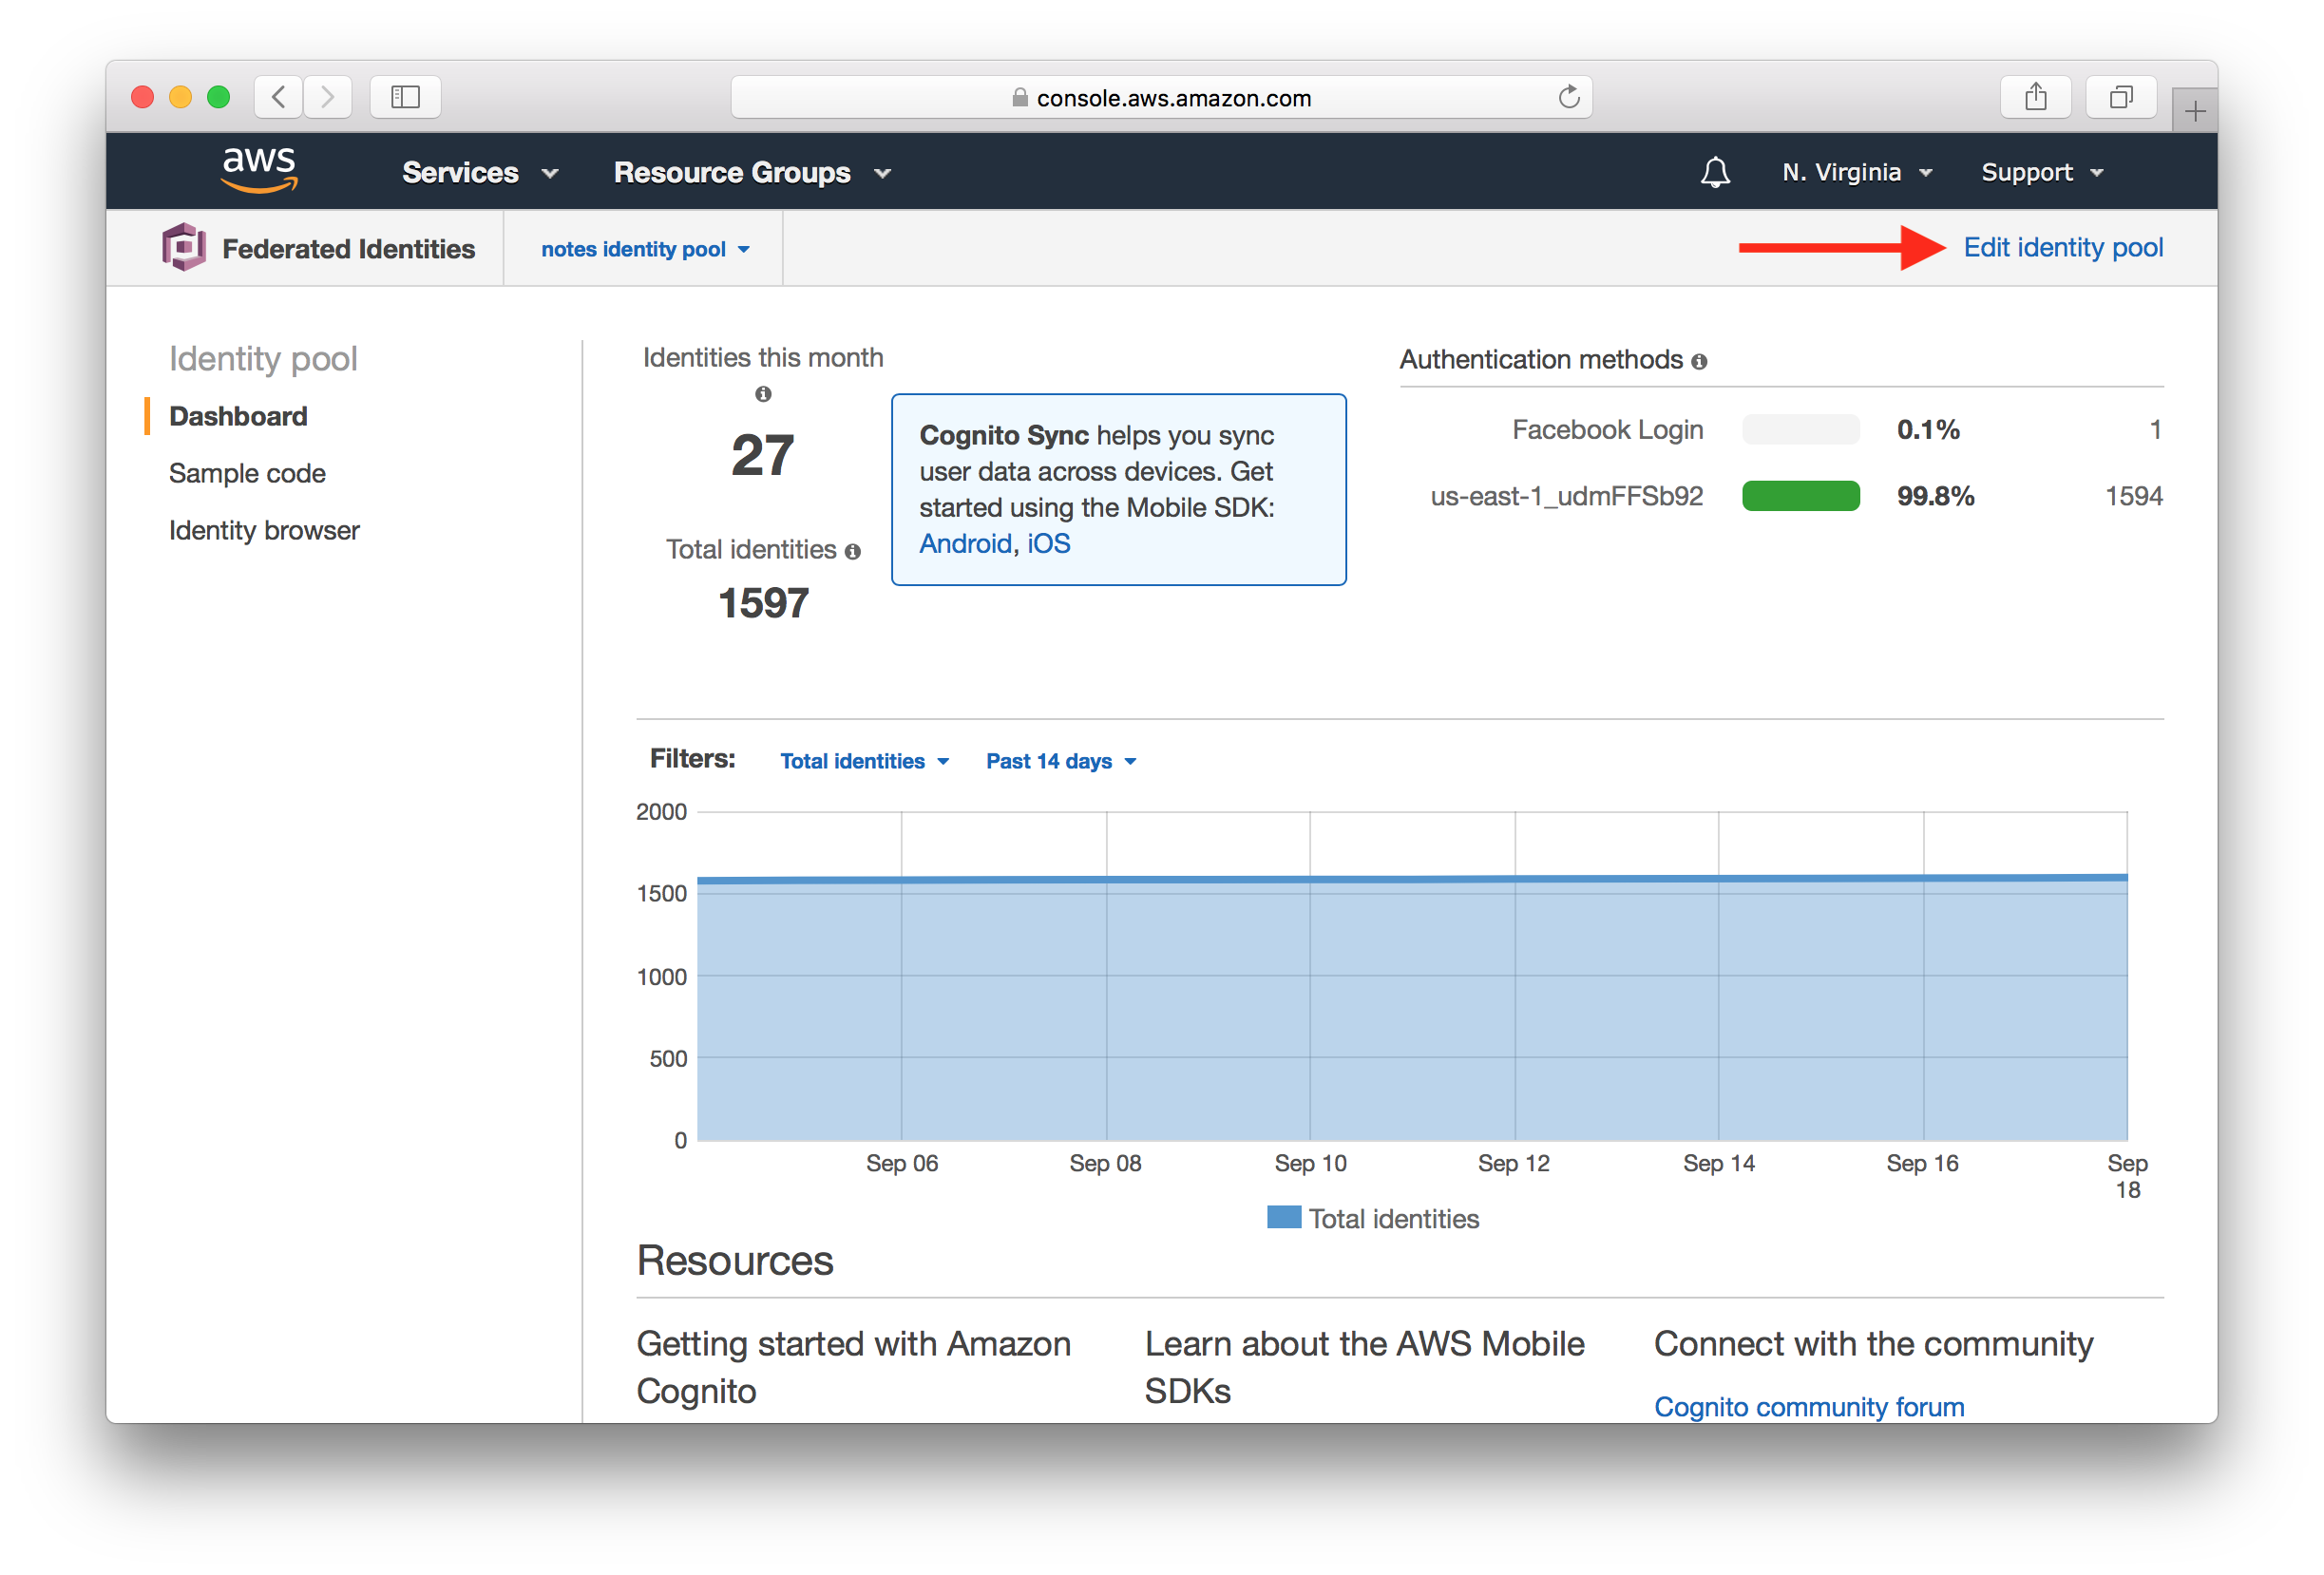
Head over to your AWS Console, and go to Cognito and click Manage Identity Pools.
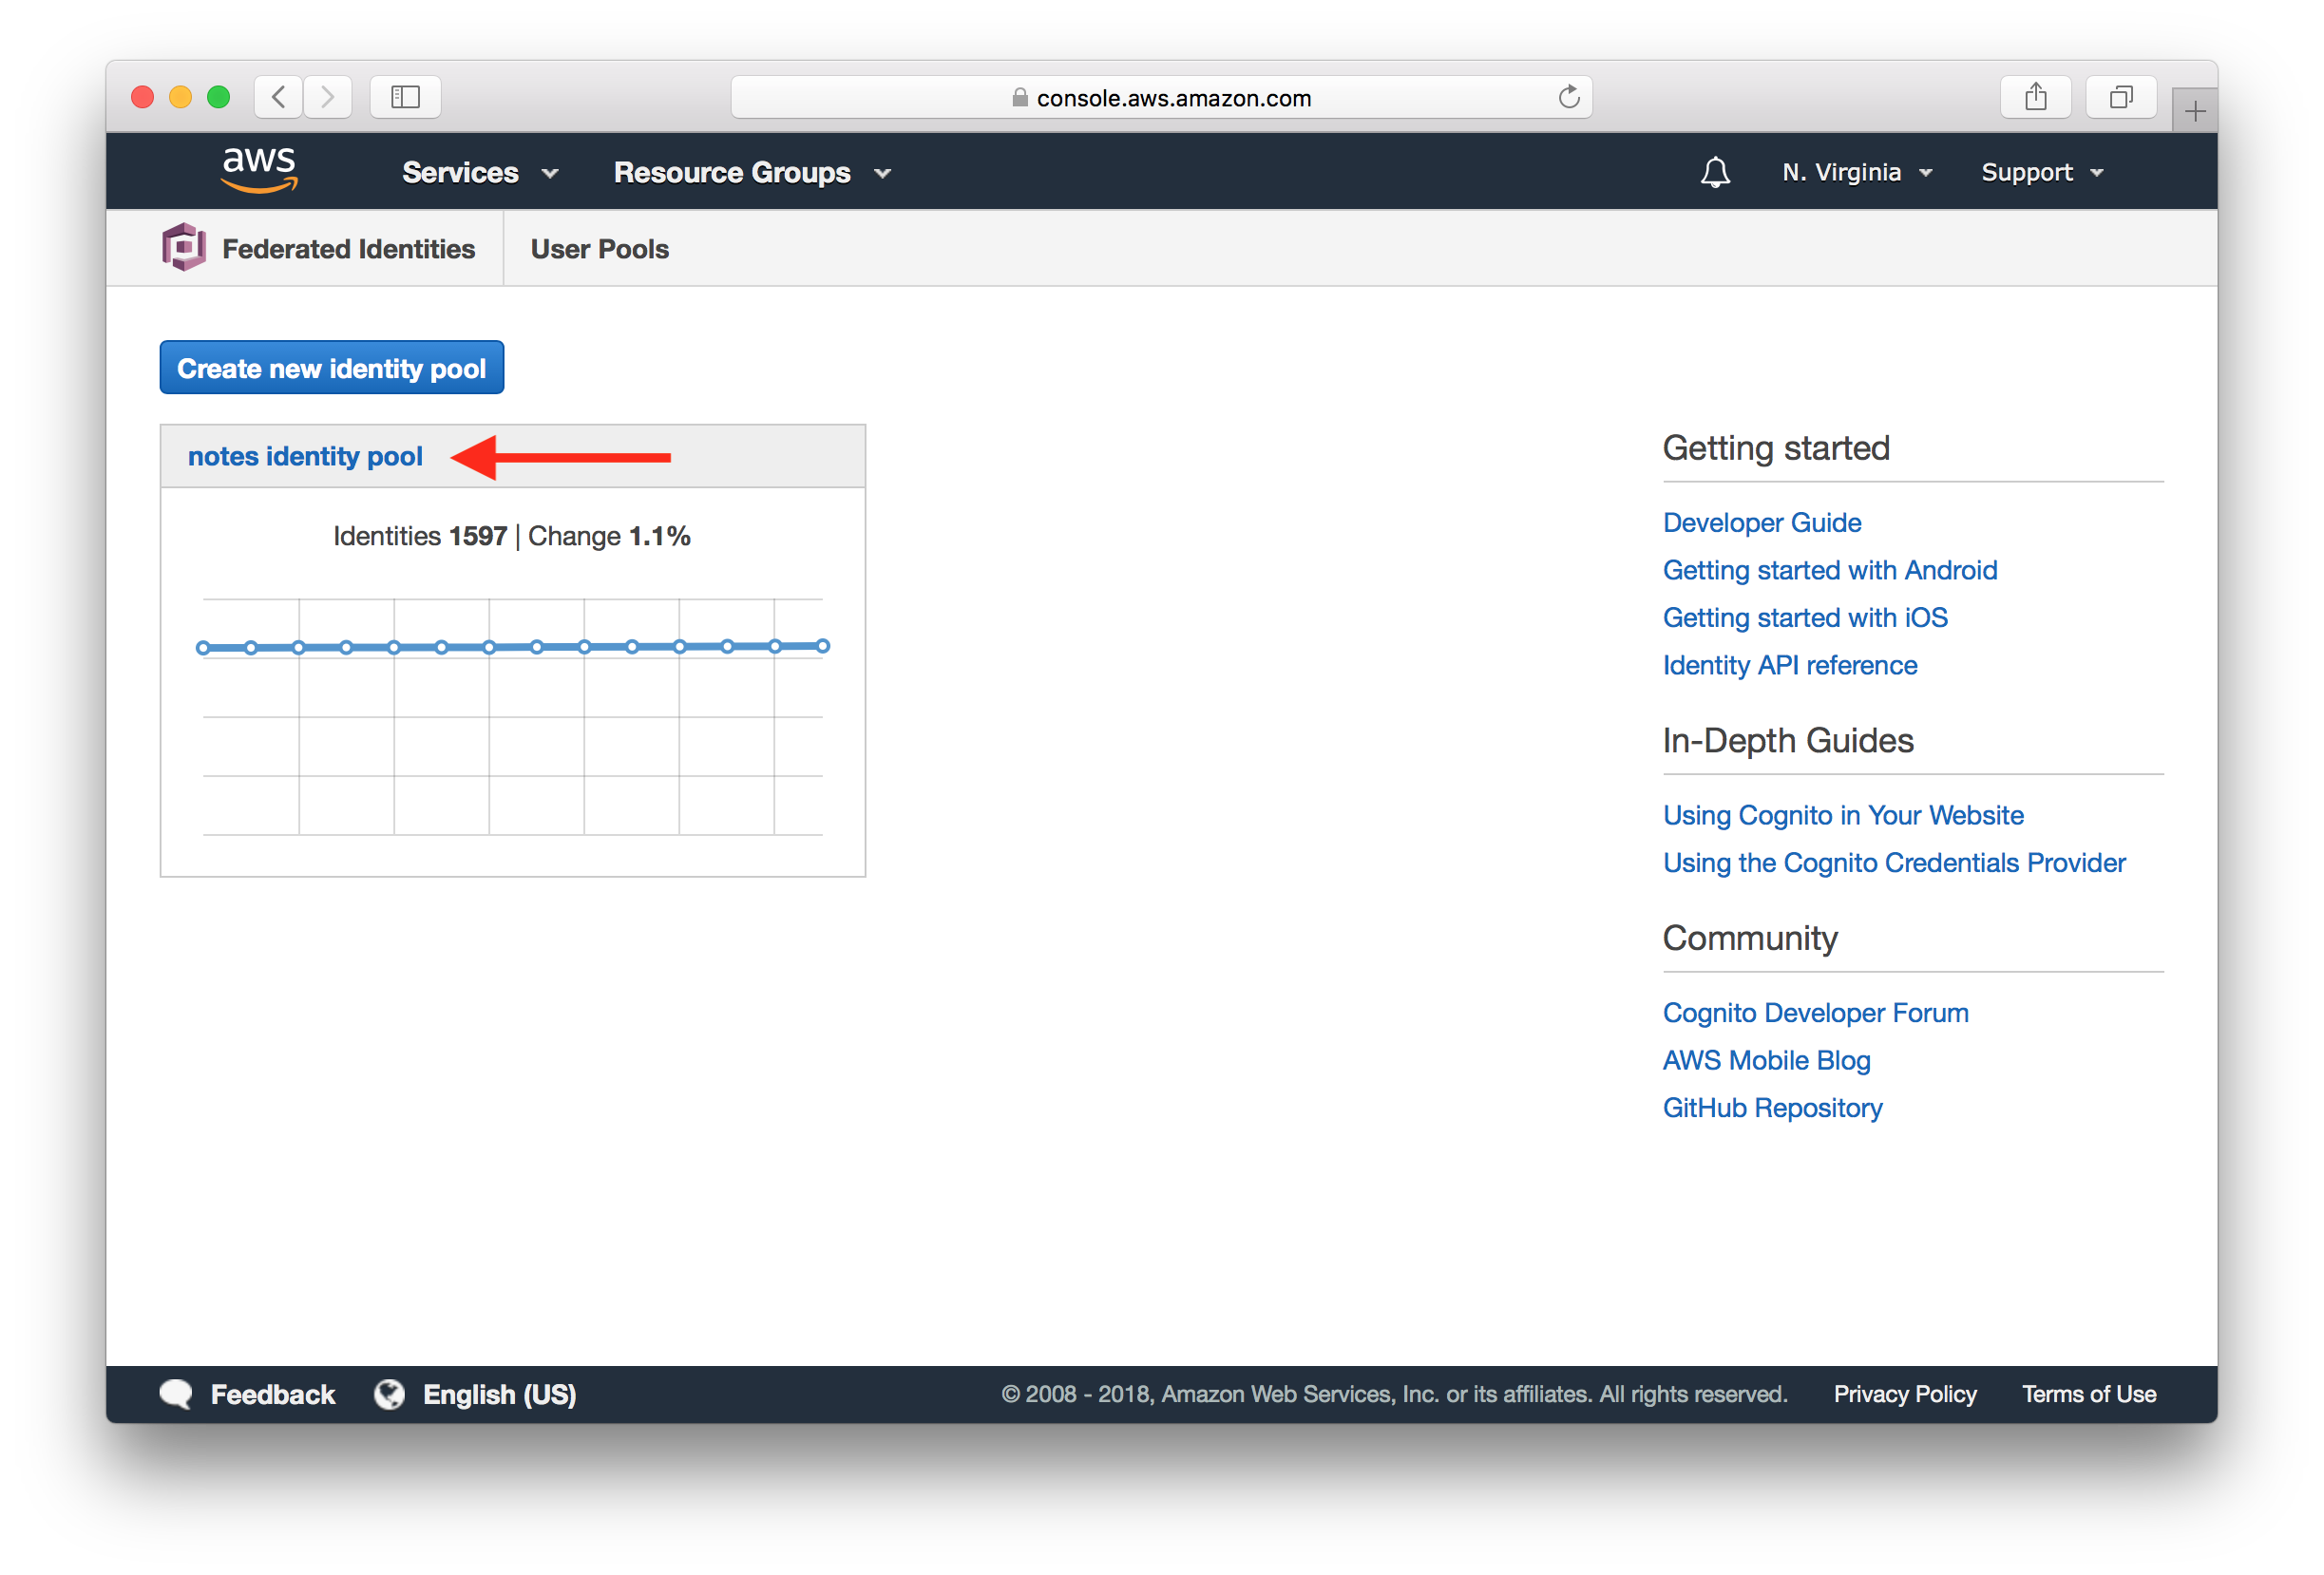
Select the Identity Pool that you are using for your app.
Hit Edit identity pool from the top.
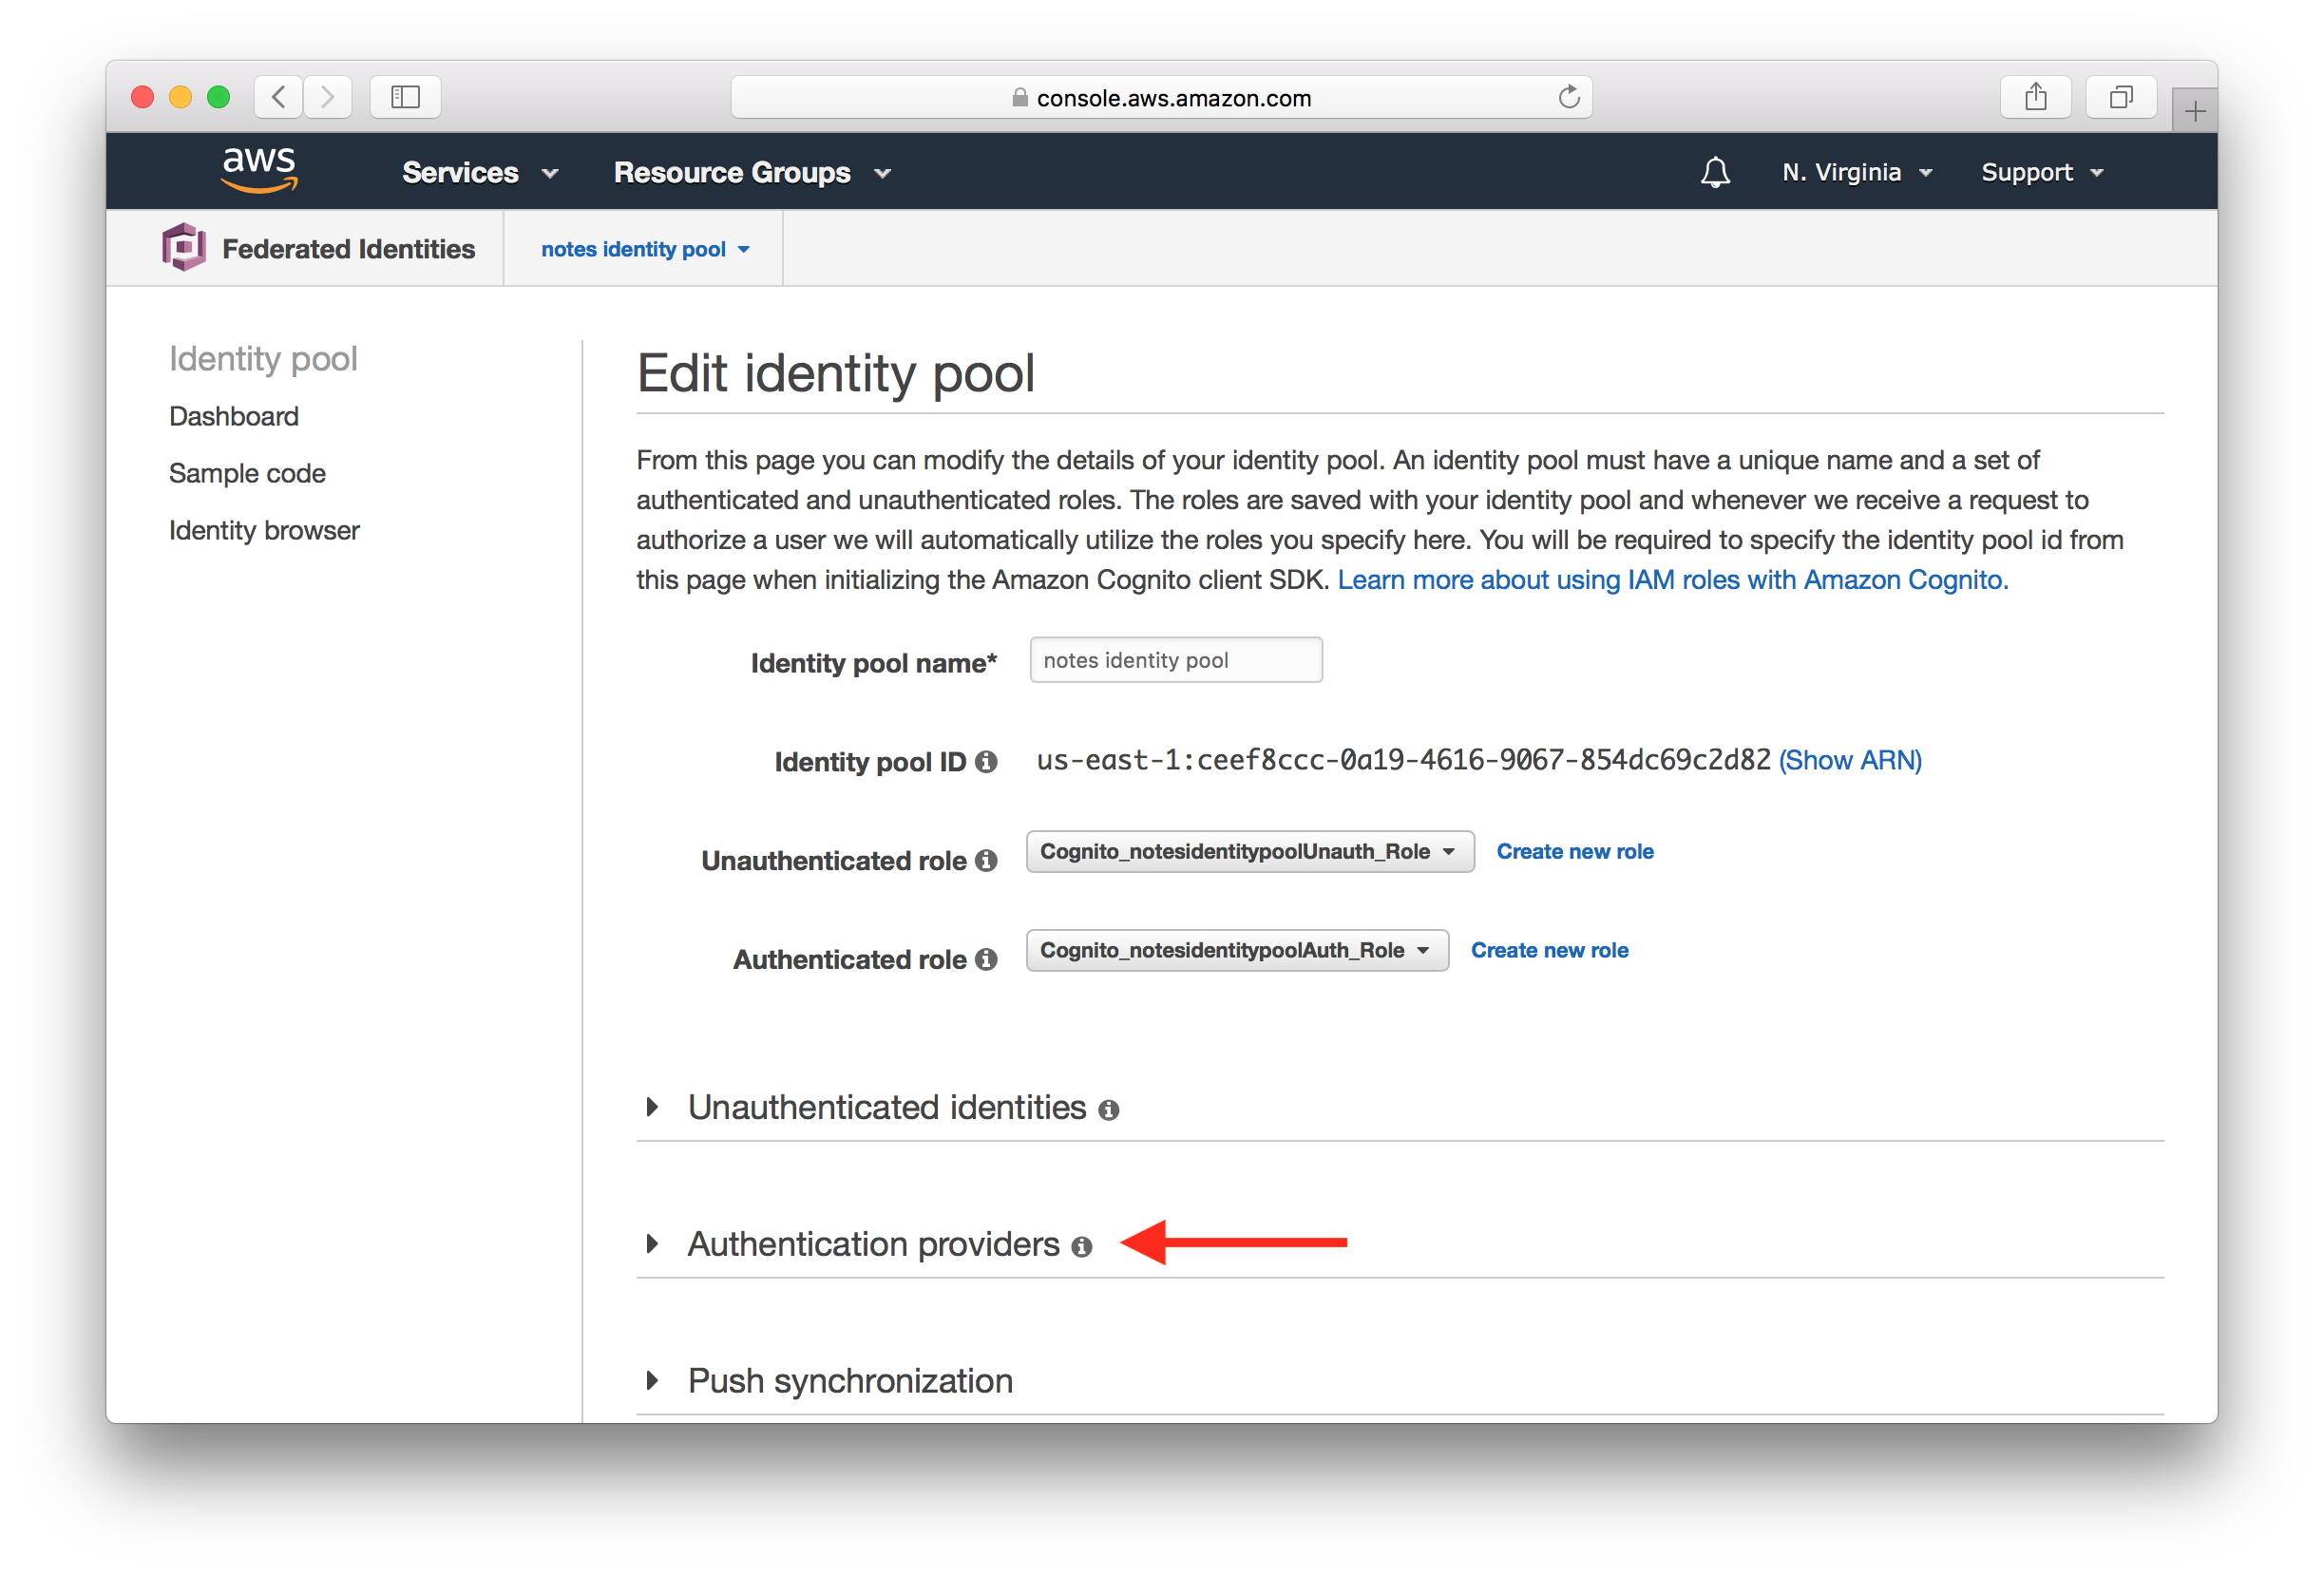
Scroll down and expand the Authentication providers.
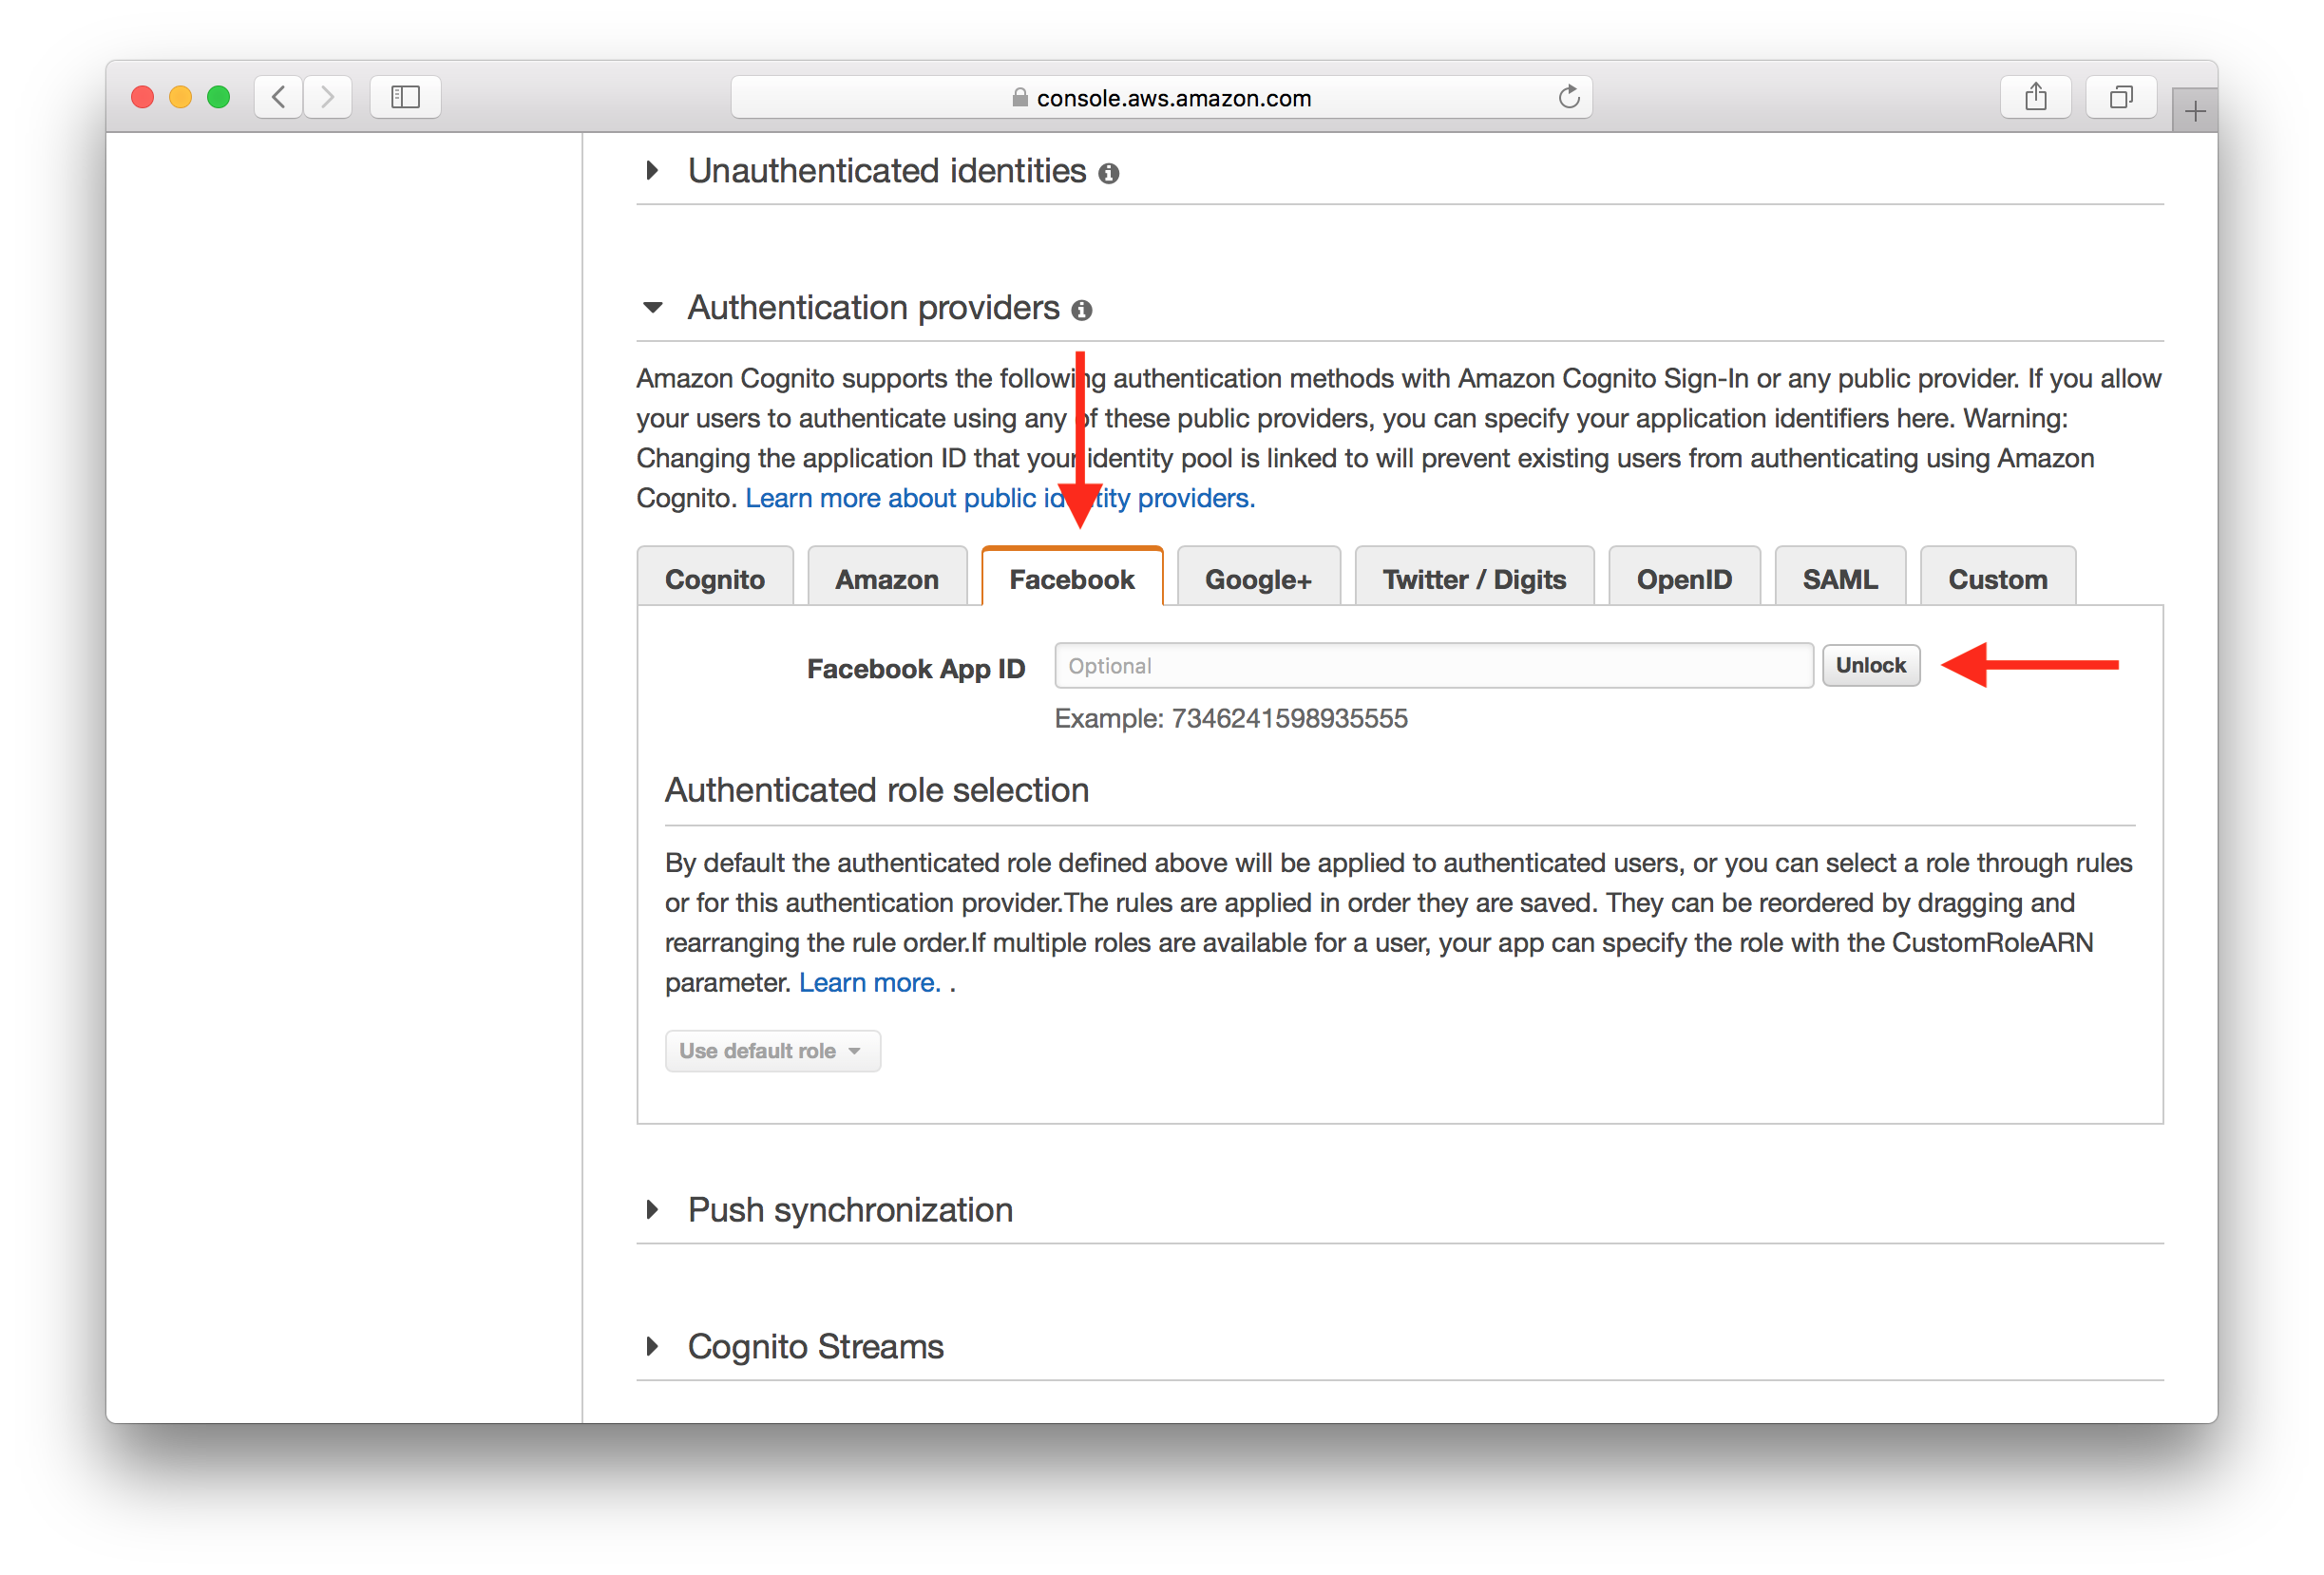
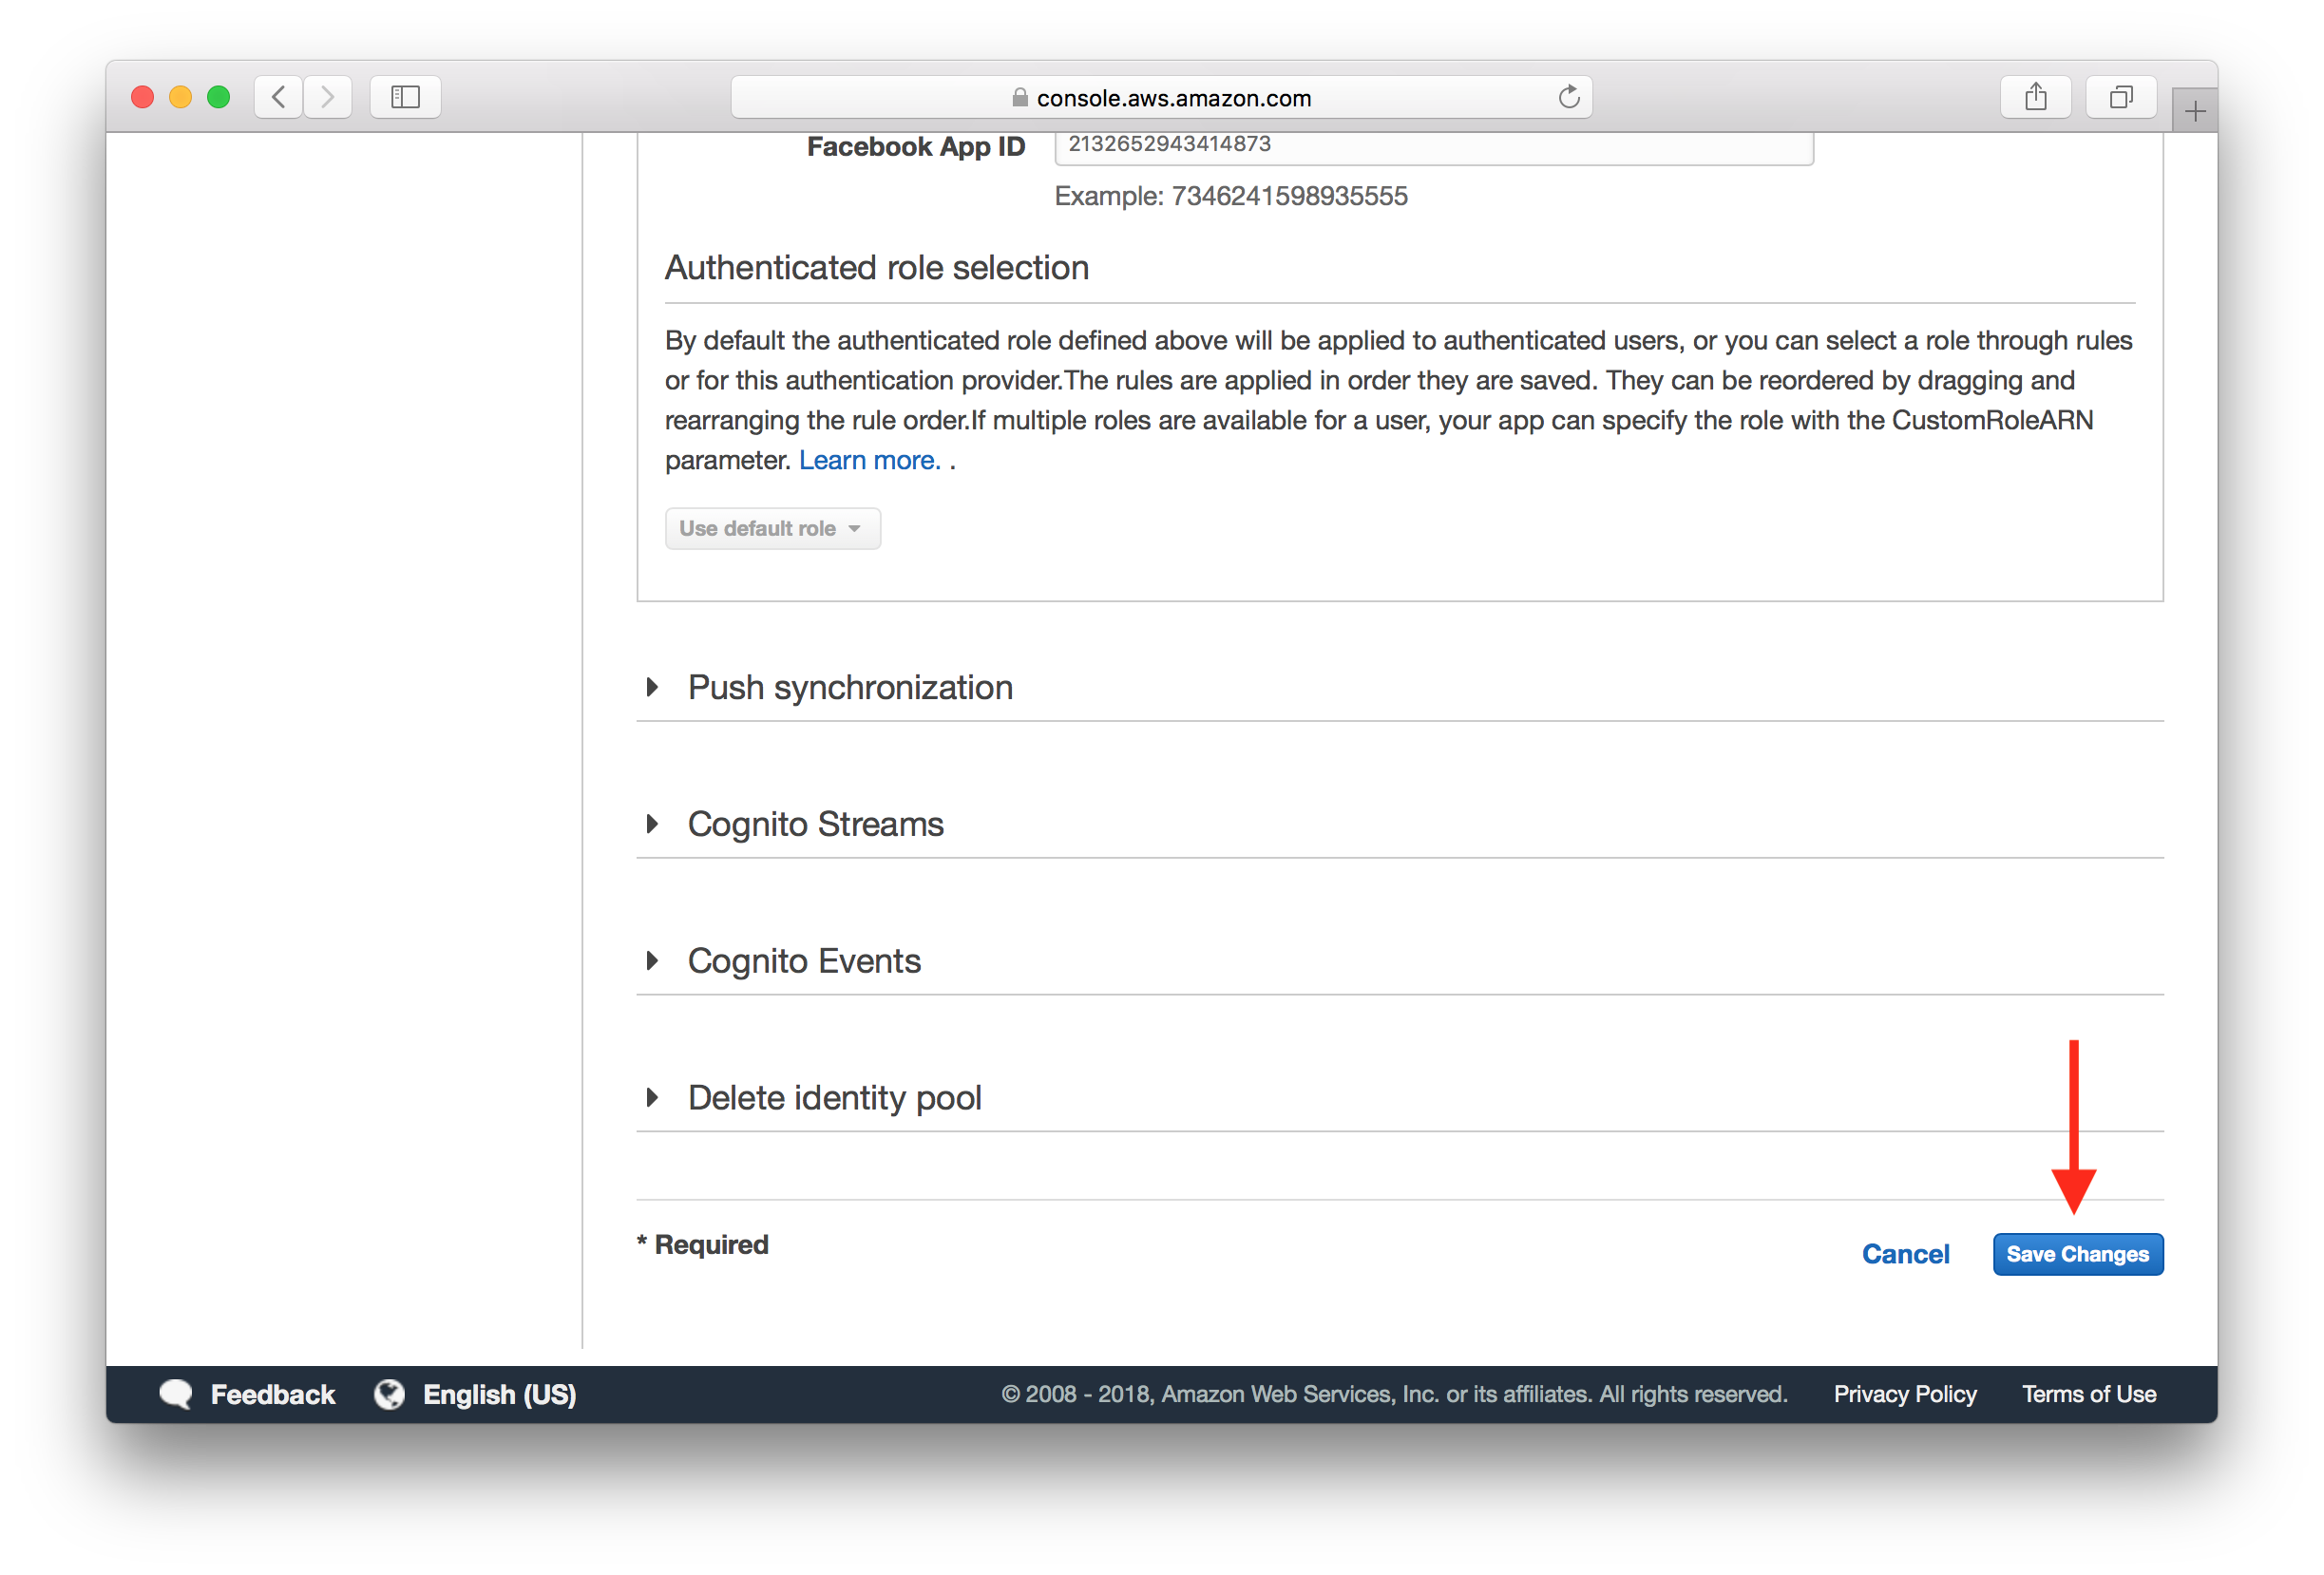
You’ll notice that you have Cognito as the default option. Select the Facebook tab. And Hit Unlock and paste your Facebook App ID from above.
And scroll down and hit Save Changes.
Now that we have the AWS side configured, let’s head over to our React app.
Configure Facebook Login with AWS Amplify
In our React app we are going to use the Facebook JS SDK and AWS Amplify to configure our Facebook login. A working version of our app is available in the GitHub repo here.
Let’s take a quick look at the key changes that were made.
 To start we add our Facebook App ID to our
 src/config.js. So it should look something like this.
export default {
  s3: {
    REGION: "YOUR_S3_UPLOADS_BUCKET_REGION",
    BUCKET: "YOUR_S3_UPLOADS_BUCKET_NAME"
  },
  apiGateway: {
    REGION: "YOUR_API_GATEWAY_REGION",
    URL: "YOUR_API_GATEWAY_URL"
  },
  cognito: {
    REGION: "YOUR_COGNITO_REGION",
    USER_POOL_ID: "YOUR_COGNITO_USER_POOL_ID",
    APP_CLIENT_ID: "YOUR_COGNITO_APP_CLIENT_ID",
    IDENTITY_POOL_ID: "YOUR_IDENTITY_POOL_ID"
  },
  social: {
    FB: "YOUR_FACEBOOK_APP_ID"
  }
};
Make sure to replace YOUR_FACEBOOK_APP_ID with the one from above.
Next we load the Facebook JS SDK in the our src/App.js in the componentDidMount method.
async componentDidMount() {
  this.loadFacebookSDK();

  try {
    await Auth.currentAuthenticatedUser();
    this.userHasAuthenticated(true);
  } catch (e) {
    if (e !== "not authenticated") {
      alert(e);
    }
  }

  this.setState({ isAuthenticating: false });
}

loadFacebookSDK() {
  window.fbAsyncInit = function() {
    window.FB.init({
      appId            : config.social.FB,
      autoLogAppEvents : true,
      xfbml            : true,
      version          : 'v3.1'
    });
  };

  (function(d, s, id){
     var js, fjs = d.getElementsByTagName(s)[0];
     if (d.getElementById(id)) {return;}
     js = d.createElement(s); js.id = id;
     js.src = "https://connect.facebook.net/en_US/sdk.js";
     fjs.parentNode.insertBefore(js, fjs);
   }(document, 'script', 'facebook-jssdk'));
}
And we also load the current authenticated user using the Auth.currentAuthenticatedUser method. Where Auth is a part of the AWS Amplify package.
Make sure to import the config at the top of src/App.js.
import config from "./config";
Now we’ll create a Facebook login button component in src/components/FacebookButton.js.
import React, { Component } from "react";
import { Auth } from "aws-amplify";
import LoaderButton from "./LoaderButton";

function waitForInit() {
  return new Promise((res, rej) => {
    const hasFbLoaded = () => {
      if (window.FB) {
        res();
      } else {
        setTimeout(hasFbLoaded, 300);
      }
    };
    hasFbLoaded();
  });
}

export default class FacebookButton extends Component {
  constructor(props) {
    super(props);

    this.state = {
      isLoading: true
    };
  }

  async componentDidMount() {
    await waitForInit();
    this.setState({ isLoading: false });
  }

  statusChangeCallback = response => {
    if (response.status === "connected") {
      this.handleResponse(response.authResponse);
    } else {
      this.handleError(response);
    }
  };

  checkLoginState = () => {
    window.FB.getLoginStatus(this.statusChangeCallback);
  };

  handleClick = () => {
    window.FB.login(this.checkLoginState, {scope: "public_profile,email"});
  };

  handleError(error) {
    alert(error);
  }

  async handleResponse(data) {
    const { email, accessToken: token, expiresIn } = data;
    const expires_at = expiresIn * 1000 + new Date().getTime();
    const user = { email };

    this.setState({ isLoading: true });

    try {
      const response = await Auth.federatedSignIn(
        "facebook",
        { token, expires_at },
        user
      );
      this.setState({ isLoading: false });
      this.props.onLogin(response);
    } catch (e) {
      this.setState({ isLoading: false });
      this.handleError(e);
    }
  }

  render() {
    return (
      <LoaderButton
        block
        bsSize="large"
        bsStyle="primary"
        className="FacebookButton"
        text="Login with Facebook"
        onClick={this.handleClick}
        disabled={this.state.isLoading}
      />
    );
  }
}
Let’s look at what we are doing here very quickly.
-
We first wait for the Facebook JS SDK to load in the
waitForInitmethod. Once it has loaded, we enable the Login with Facebook button. -
Once our user clicks the button, we kick off the login process using
FB.loginand listen for the login status to change in thestatusChangeCallback. While calling this method, we are specifying that we want the user’s public profile and email address by setting{scope: "public_profile,email"}. -
If the user has given our app the permissions, then we use the information we receive from Facebook (the user’s email) and call the
Auth.federatedSignInAWS Amplify method. This effectively logs the user in.
Finally, we can use the FacebookButton.js in our src/containers/Login.js and src/containers/Signup.js.
<FacebookButton
  onLogin={this.handleFbLogin}
/>
<hr />
Add the button above our login and signup form. And don’t forget to import it using import FacebookButton from "../components/FacebookButton";.
Also, add the handler method as well.
handleFbLogin = () => {
  this.props.userHasAuthenticated(true);
};
The above logs the user in to our React app, once the Facebook sign up process is complete. Make sure to add these to src/containers/Signup.js as well.
And that’s it, if you head over to your app you should see the login with Facebook option.

Clicking on it should bring up the Facebook dialog asking you to login with your app.

Once you are logged in, you should be able to interact with the app just as before.
A final note on deploying your app. You might recall from above that we are telling Facebook to use the https://localhost:3000 URL. This needs to be changed to the live URL once you deploy your React app. A good practice here is to create two Facebook apps, one for your live users and one for your local testing. That way you won’t need to change the URL and you will have an environment where you can test your changes.
For help and discussion
Comments on this chapterFor reference, here is the code we are using
Facebook Login Frontend SourceIf you liked this post, please subscribe to our newsletter, give us a star on GitHub, and follow us on Twitter.
Brought to you by
